Painting plastic exterior components is a critical process within modern body shop refinishing, playing a key role in achieving consistent, high-quality vehicle finishes. From mirror caps and bumper trims to mouldings and exterior plastics, these components frequently require refinishing as part of collision repair, cosmetic refurbishment, or full respray work, making correct preparation and application essential for long-term durability and colour consistency.
Unlike metal substrates, plastic car parts present specific challenges for professional refinishers, including surface flexibility, adhesion variability, and sensitivity to incorrect preparation methods. Selecting the right materials, primers, and application techniques is therefore vital to avoid common issues such as poor adhesion, delamination, or premature paint failure.
This guide is designed for body shop technicians and automotive refinishing professionals, providing a clear, process-driven overview of best practices for preparing and painting plastic car parts to the high standards your customers expect.
How to Prepare Plastic Car Parts to be Painted
Correct preparation of plastic substrates is fundamental to achieving a high-quality, long-lasting refinishing result. Plastic components differ significantly from metal panels in terms of flexibility, surface energy, and paint adhesion, making accurate preparation and the use of appropriate equipment essential. Insufficient prep work or incorrect material selection is one of the most common causes of adhesion failure, texture issues, and paint defects.
Wherever possible, plastic trims and components should be removed from the vehicle prior to refinishing to allow unrestricted access to the surface, improve coating uniformity, and significantly reduce the risk of overspray contamination. Plastic trims can be carefully released from the body panel using a dedicated trim removal tool or plastic razor, ensuring surrounding panels and clips are not damaged.
If removal is not feasible, professional masking is essential to control overspray and maintain clean panel edges. Use high-quality automotive masking tapes designed for refinishing environments, ensuring tight adhesion along edges and contours. A thorough masking process is key to preventing rework and achieving a clean finish
Sanding is also a critical step in preparing plastic substrates, as it removes surface gloss, keying the surface for primer adhesion. Technicians should use a progressive sanding process rather than a single grit to avoid surface damage and excessive texture.
- Initial keying is typically performed using P320–P400 grit abrasives, either by hand or with a dual-action (DA) sander to follow contours.
- Refining passes should then be carried out using P600–P800 grit, particularly on visible exterior components, to achieve a uniform surface ready for priming.
Machine sanding improves consistency and efficiency, but care must be taken to avoid heat build-up, which can distort or melt plastic substrates. Edges and tight areas should always be finished by hand to maintain control.
Once sanding is complete, thorough cleaning is essential to remove dust, plastic residues, and static contamination. Failure to clean the surface correctly can result in adhesion issues and surface defects such as fisheyes.
- Wash the component with warm water and a mild paint-safe detergent to remove sanding debris
- Follow with a dedicated plastic-safe degreaser
- Use clean, lint-free microfibre cloths, as these effectively lift contaminants without leaving fibres or scratching the surface
Microfibre cloths help control static build-up on plastic parts, reducing the attraction of airborne dust prior to priming.
How to Paint Plastic Car Parts
Now that the plastic parts have been correctly prepared, you should be ready to go ahead with painting. Below, we’ll take you through our step-by-step instructions on how to spray paint the plastic trims and achieve an excellent finish.
Step 1 – priming
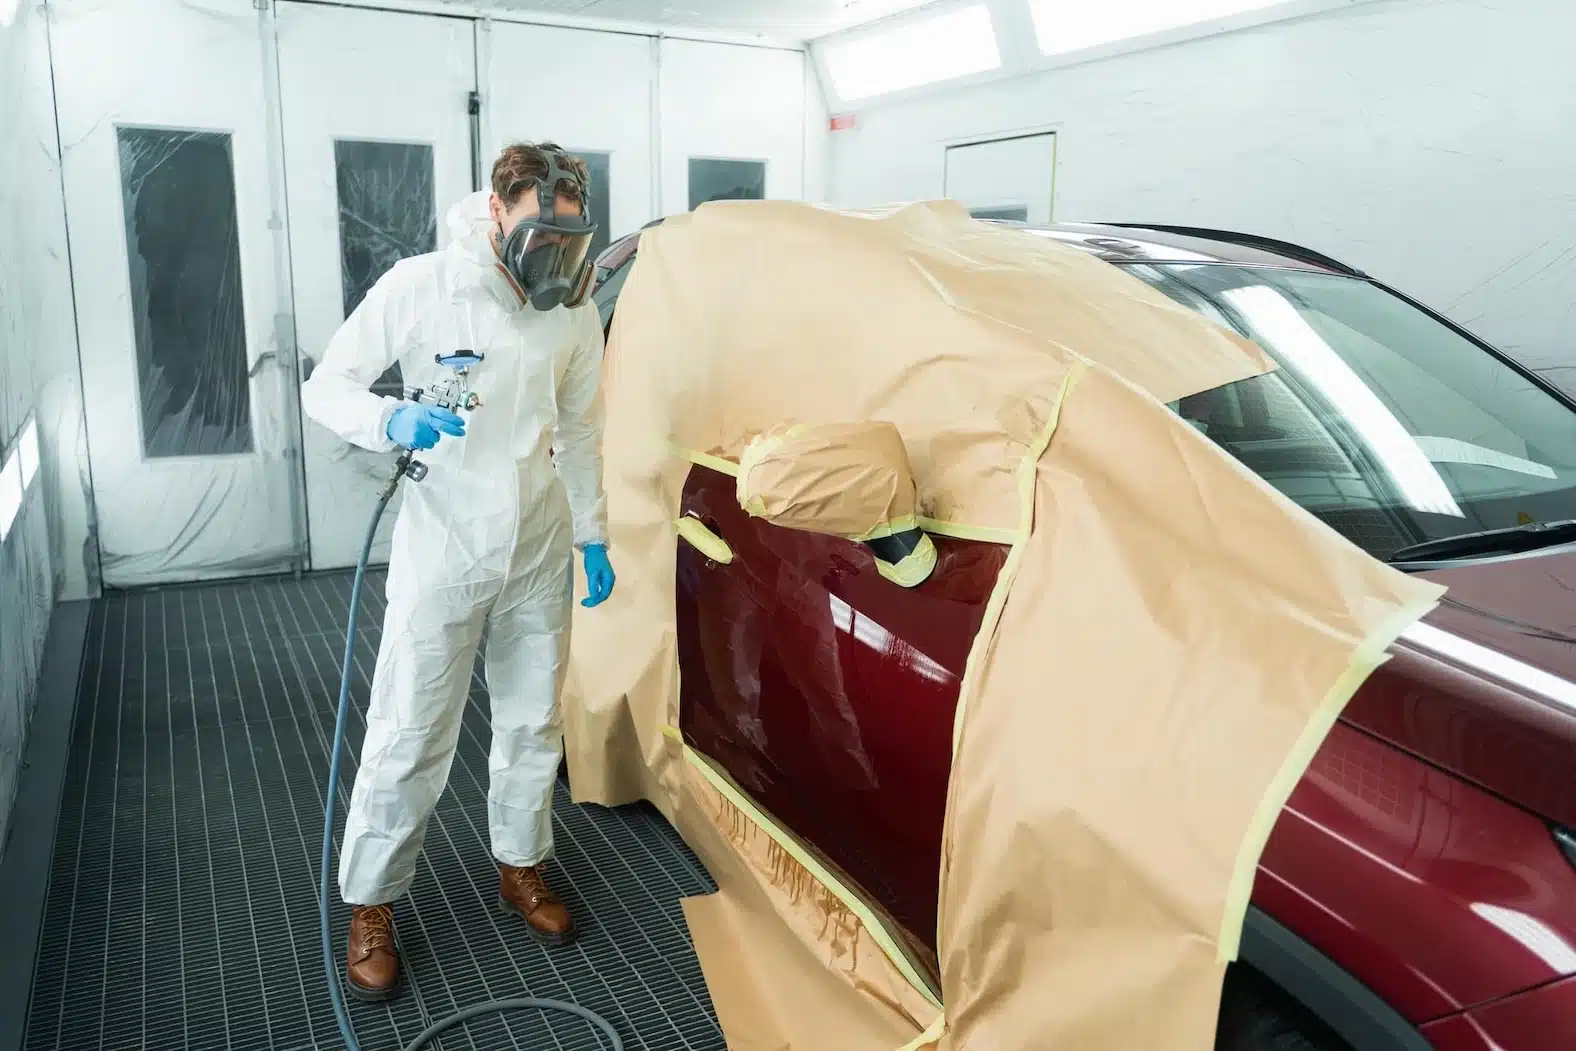
Apply your high-quality primer to the plastic part from around 6-7 inches away. During this stage, you should be wearing a mask to protect from the chemicals in the primer.
For the best application, keep the paint can in an upright position when spraying and apply three or four coats, waiting 15 minutes between each one to allow each layer to dry.
Step 2 – painting
When painting on plastic, more coats of paint might be required for drastic colour changes like covering black parts with white paint. However, the same process can be followed as with the primer regarding how far away the paint can be held.
Step 3 – apply the lacquer
Clear lacquer should then be applied over the paint with four or five coats. Again, leave each layer to dry for around 15 minutes before adding another. Once you’re satisfied with the finish, it’s recommended to leave this to dry for a few hours before removing the masking tape or reattaching the plastic trim.
Step 4 – finish off with polish
The final step is to take a clean microfibre cloth and polish the plastic part. This will bring out the shine and remove any loose debris, leaving you with a perfectly smooth surface.
Which Plastic Car Parts Can be Painted?
In a professional body shop environment, it is generally understood that the majority of exterior plastic components are suitable for refinishing. However, confirming paint compatibility is still an important early-stage consideration, as plastic types, surface finishes, and OEM coatings can vary significantly between manufacturers and vehicle models.
Most exterior plastic trims and moulded components can be successfully painted, provided the correct preparation methods, primer systems, and application processes are followed. Identifying the substrate type and assessing the condition of the component helps ensure appropriate material selection and long-term coating performance.
Common plastic car parts routinely refinished in body shops include:
- Exterior trim pieces and mouldings
- Door handles
- Wing mirror caps and housings
- Front and rear bumper covers
- Wheel trims and covers
- Spoilers
- Mudguards and arch trims
While these components are typically paintable, you should always assess for factors such as flexible plastics, textured finishes, or previously applied coatings, which may influence preparation methods and product choice. Clarifying these details at the outset helps prevent adhesion issues, mismatched finishes, and unnecessary rework later in the refinishing process.
Painting Different Types of Plastics
While most exterior plastic components can be refinished successfully, the specific type of plastic used has a direct impact on preparation methods, primer selection, and long-term paint performance. For professional body shops, identifying the plastic substrate and adjusting the refinishing process accordingly is essential for achieving durable, OEM-standard results.
Below is an overview of the most common automotive plastics, where they are typically found on the vehicle, and how the refinishing approach might differ.
Polypropylene (PP)
Polypropylene is one of the most commonly used plastics in automotive manufacturing and is frequently found in bumper covers, exterior trims, and mouldings. It is highly flexible and impact-resistant, but has low surface energy, making paint adhesion challenging without correct preparation.
To ensure proper bonding, PP components require a dedicated plastic adhesion promoter or primer specifically designed for PP/PE substrates. Without this step, paint is prone to chipping or peeling, particularly in high-impact areas such as bumpers.
Acrylonitrile Butadiene Styrene (ABS)
ABS is a harder, more rigid plastic often used for grilles, mirror housings, and some interior trim components. It is generally easier to sand and key compared to PP, but can be sensitive to aggressive solvents found in certain paints and primers.
Using compatible primer systems designed for ABS helps prevent surface softening, swelling, or distortion during refinishing, ensuring a stable base for topcoat application.
Polyethylene (PE)
Polyethylene shares many characteristics with polypropylene and is often blended or used alongside PP in exterior components. Like PP, it has low surface energy and requires flexible primer systems to achieve reliable adhesion.
Professional refinishing of PE parts should always include a suitable adhesion promoter to accommodate movement and prevent cracking or delamination once the vehicle is back in service.
Polycarbonate (PC) and Other Plastics
Polycarbonate and similar plastics are commonly used for headlight lenses, light housings, and select body panels. These materials are typically clear or semi-transparent and may require specialised primers designed for clear plastics.
Incorrect product selection can lead to hazing, cracking, or reduced optical clarity, making substrate identification particularly important when refinishing these components.
Frequently Asked Questions
Below are some frequently asked questions related to the professional preparation and painting of plastic car parts, which will help you ensure accurate colour matching, correct material selection, and high-quality finishing results.
Can you Powder Coat Plastic Car Parts?Plastic car parts can be powder-coated, although this will usually follow a slightly different process than is used for powder coating alloys. This is because plastic often holds up poorly against the high temperatures that substrates are exposed to during the powder coating process. Instead, a UV-cured powder coating process can be followed to provide your customers with more durable plastic trims.
How to Find the Paint Code for a CarAccurate colour matching is essential when refinishing plastic components, particularly for visible exterior parts or blend areas. To identify the correct paint code for a vehicle, technicians should locate the manufacturer’s identification sticker or plate, which contains a unique alphanumeric colour code specific to that vehicle.
Paint codes are most commonly found in the following locations:
· The driver’s door jamb
· Inside the glovebox
· Under the bonnet
Can You Paint Car Interior Plastic?Yes, interior plastic components can be painted, provided they are prepared and refinished using the correct professional processes. For best results, interior plastic elements should be fully removed from the vehicle prior to painting to allow proper surface preparation and controlled application.
Once removed, the same structured preparation process should be followed as with exterior plastics.
After painting, components should be left to cure and dry thoroughly before reinstallation. Allowing sufficient drying time helps prevent surface marking, adhesion issues, or damage during refitting, ensuring a durable and professional interior finish.
We hope this guide helps you finesse your approach to painting plastic car parts. For more expert guides and information regarding automotive painting and masking, check out our JTAPE blog.