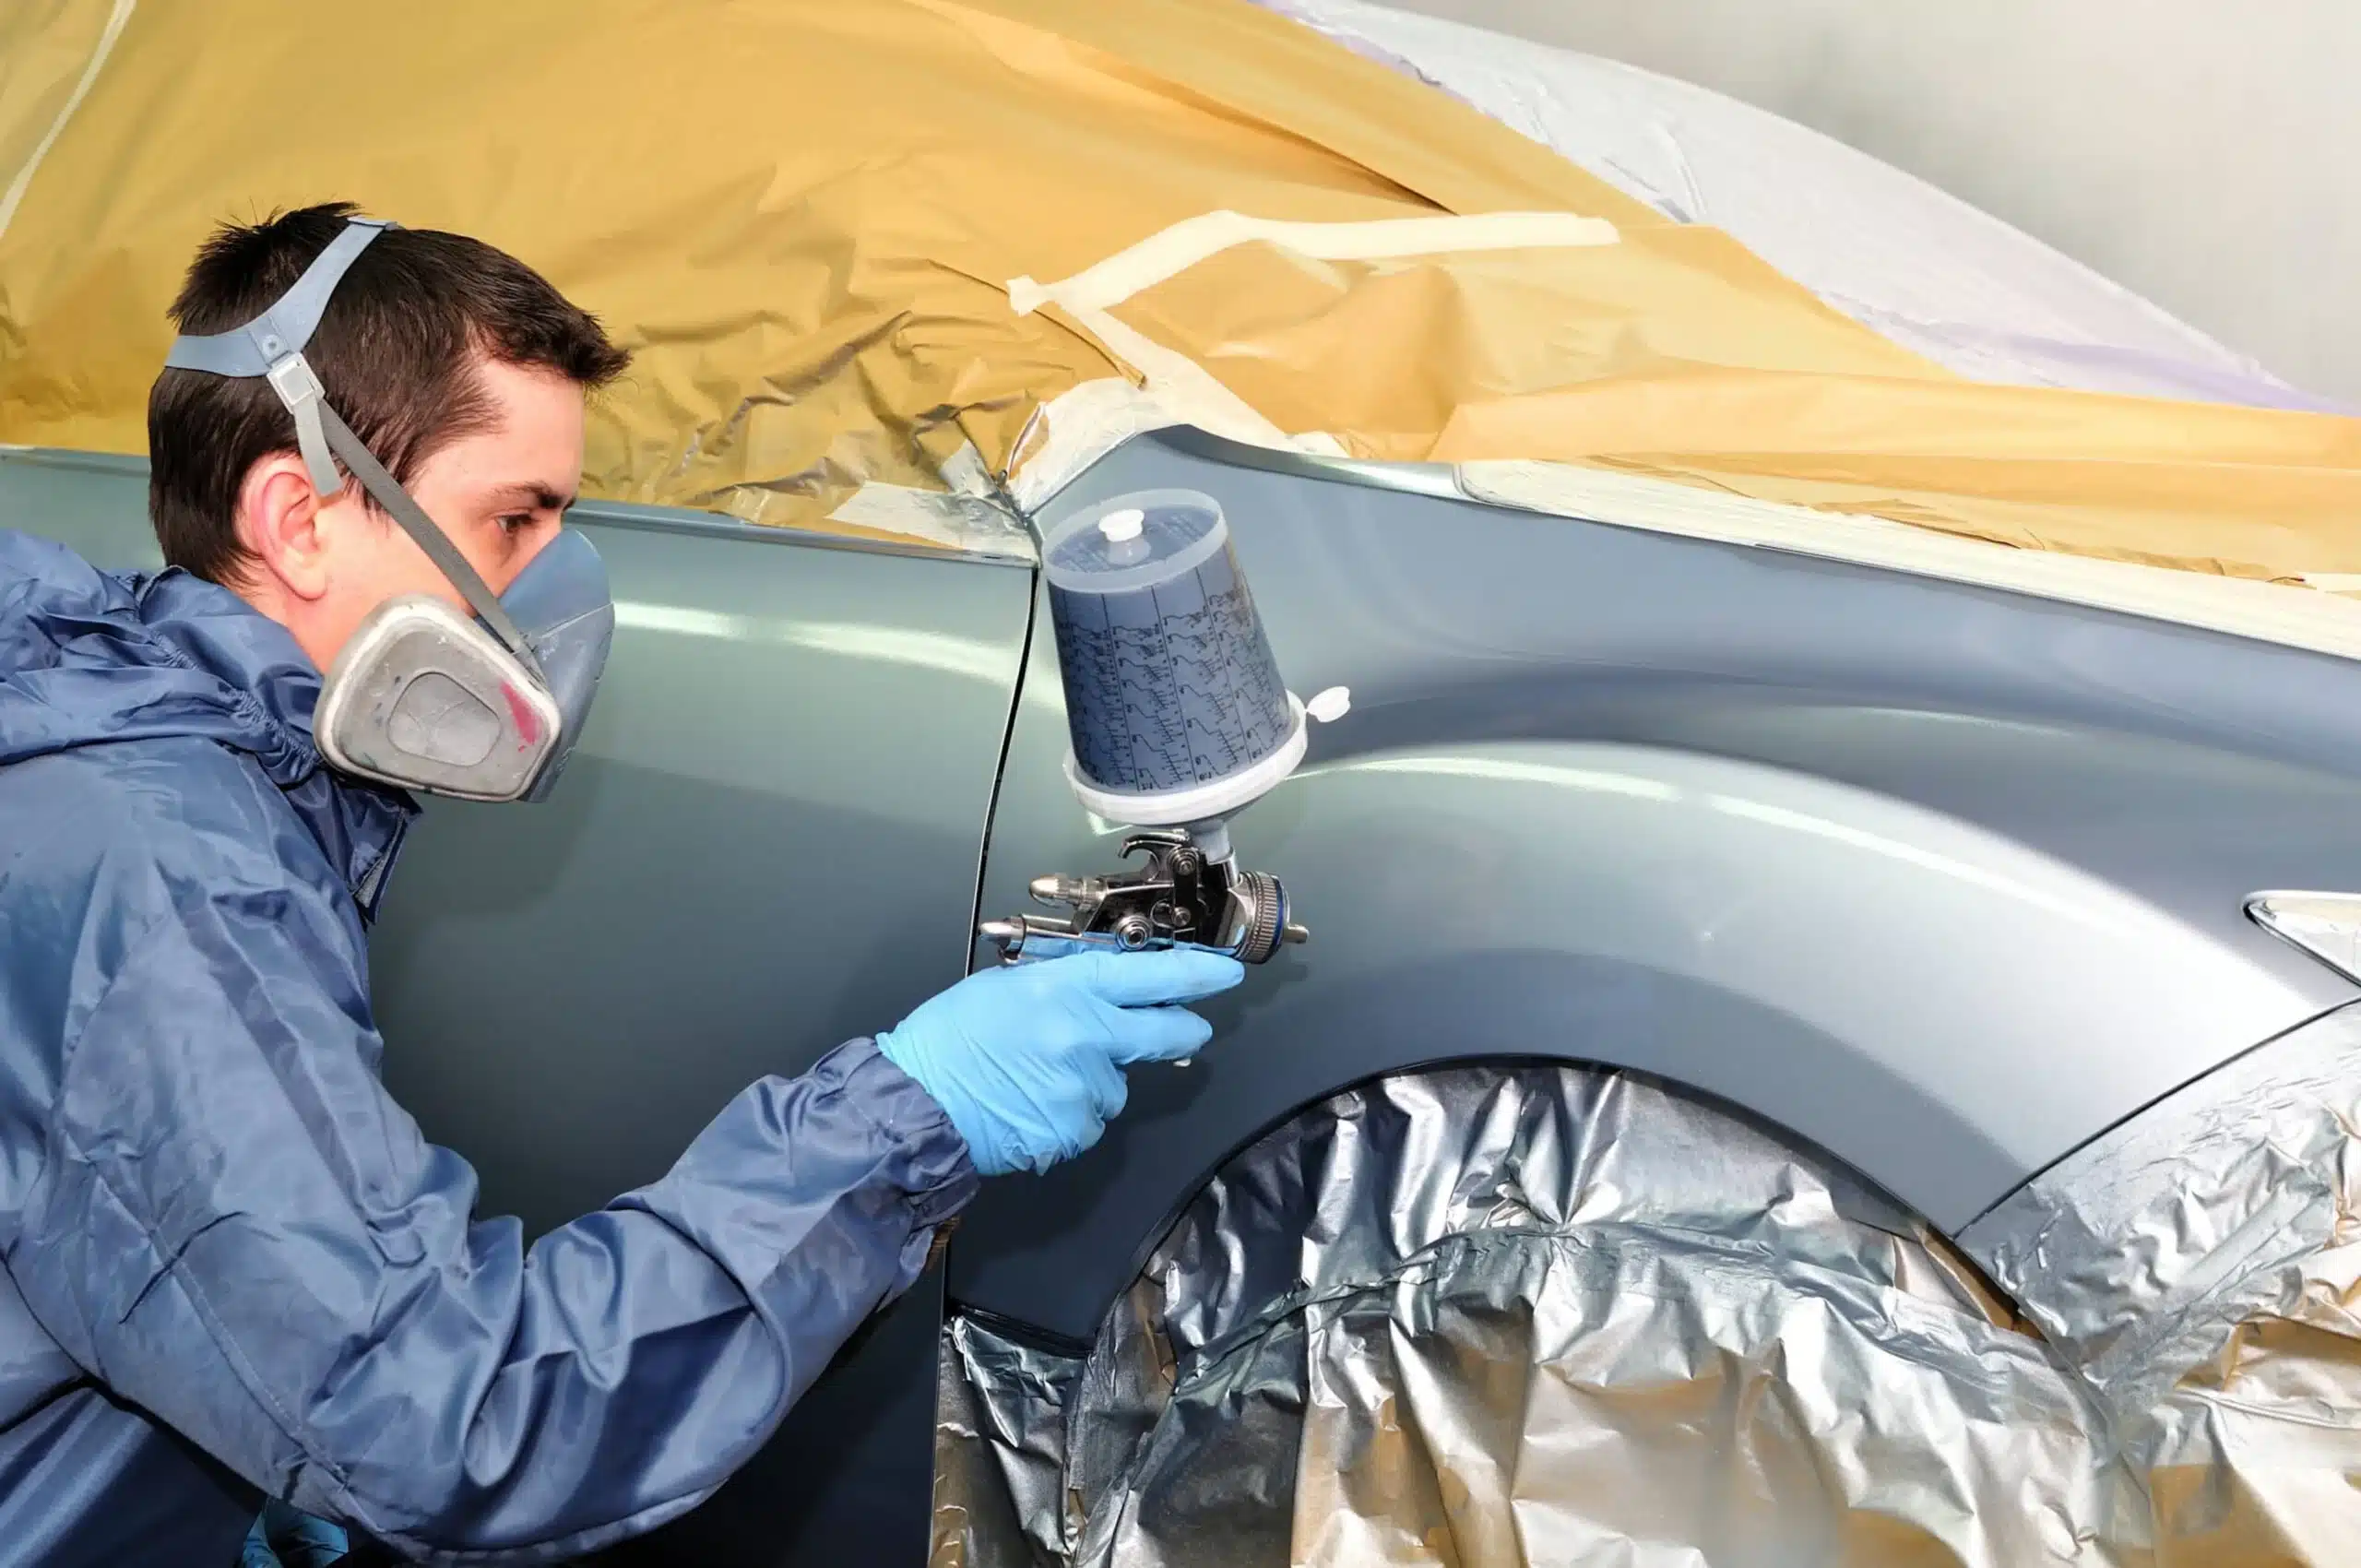
Why is proper tape removal important for painters?
Experienced decorators are well aware of the fact that achieving a high quality overall finish depends more on attention to detail than on the paint itself. One of the most frequent mistakes that can degrade the standard of work – resulting in wasted time, materials and money through callbacks from dissatisfied customers, is incorrect tape removal.
Here are just some of the reasons why proper tape removal is paramount:
- Prevents paint lifting, cracking or surface damage: if tape is removed after the paint has fully cured, it can bond too tightly and pull up the paint layer beneath, especially on delicate surfaces or poorly prepped area.
- Avoids adhesive residue: Leaving masking tape on for too long can cause the adhesive to stick to the surface, which can add time, frustration, and potential cost to the job.
- Creates crisp, commercial-looking lines: The primary goal is to create clean, neat edges to ceilings, skirting boards, doors, and textured areas. Failure to remove the tape properly – whether too early or too late – can compromise the paint finish and undermine the overall job.
- Improves efficiency: Following best practices for tape removal – timing, technique, and surface preparation – helps streamline the process, reduces rework, and delivers consistently high-quality results, every time.
- Customer Satisfaction & Professional Reputation: Correct tape removal not only helps to avoid imperfections and damage to the paint finish, but also reflects your professionalism and craftsmanship. A painter who consistently delivers to a high standard builds trust amongst customers – most likely earning repeat business through word-of-mouth.
In practice, the ideal moment to remove tape depends on the type of paint, the drying time, and the masking products used. When in doubt, it is recommended to test removal on a small, less visible section first. If the paint comes away cleanly, the surface is ready for tape removal.
Key tape removal considerations
While straightforward in concept, tape removal is a skill that can significantly impact the final result. Timing and technique are essential to achieving a high-quality, professional finish, which is why we’re sharing our best practice recommendations for painter’s tape removal.
Paint curing stage
The rule of thumb is to remove the tape before the paint has fully dried. For most water-based paints, optimal tape removal is when the paint is dry to the touch but still not completely hardened, which is typically around an hour after application. This prevents the paint film from lapping over the tape edge, which can lead to lifting, peeling, or cracking when the tape is removed.
When coating with solvent-based paints or specialist coatings, curing times can vary considerably, so be sure to check the guidance from your chosen paint manufacturer, too.
When removing painter’s tape, timing is no less critical to ensure a clean, professional finish. It’s best to lightly score along the tape’s edge with a sharp utility knife or a razor blade prior to trying to remove it. This avoids paint bridging and gives an effective line.
Removal angle
After scoring the tape edge, carefully peel the tape back from the surface. We recommend doing so at a 45-degree angle for many JTAPE masking products, but it’s best to check the suggested removal method for your chosen masking tape.
Peeling away steadily will decrease tension in the paint film to prevent unnecessary peeling, and this should only be attempted when the paint is still slightly tacky but not hardened.
Surface compatibility
When choosing your tape, it’s worth checking the product description to find out whether it’s compatible with the surface you intend to use it on. For example, our 120ºC Lime Precision Masking Tape can be used for masking on painted surfaces, glass and plastics, making it ideal for professional painting and decorating.
Adhesive type
Painter’s tapes can feature different adhesive types, which should be considered during application and removal. While our 80°C Premium Masking Tape features a rubber-based adhesive, the taped section of our Precision Pre-Taped Masking Film features a water-based acrylic adhesive, both of which have low peel adhesion to make it easy to remove without damaging the surface underneath and leave a clean finish.
UV & time exposure
Product information and ambient factors such as temperature, UV, humidity, and air change will need to be considered, as these can affect removal times.
For painters and decorators, when and how to remove painter’s tape is just as important as surface preparation and paint application. Successful tape removal produces sharp lines, avoids costly rework, and supports the high finish level your customers expect.
JTAPE offers a complete set of painter’s masking tapes, from low-tack tapes for fine detail work to fine-line tapes for precision and crepe tapes for general-purpose work, with each being developed to allow professionals to feel confident in producing perfect results for customers.