Why masking and painting a textured wall can be challenging, even for professionals
For the average person, masking and painting a textured wall themselves will, in most cases, result in below-par results. This will likely lead to a phone call being made to a trade professional, but despite offering an undoubtedly better finish, it doesn’t guarantee the trade professional won’t struggle to mask and paint a textured surface either.
The uneven nature of a textured surface throws up challenges for masking, meaning that extra care must be taken throughout the entire process. Using a high-quality, flexible tape can help ease some of these struggles for professionals, provided the user is well-versed when it comes to correct application.
How to mask textured walls or other textured surfaces
Over the years, we’ve worked with tradespeople across various industries, including painting and decorating, to help us design and create innovative masking solutions that save time and increase efficiency. Here are our top tips for masking textured walls and other surfaces.
1. Choose the right products
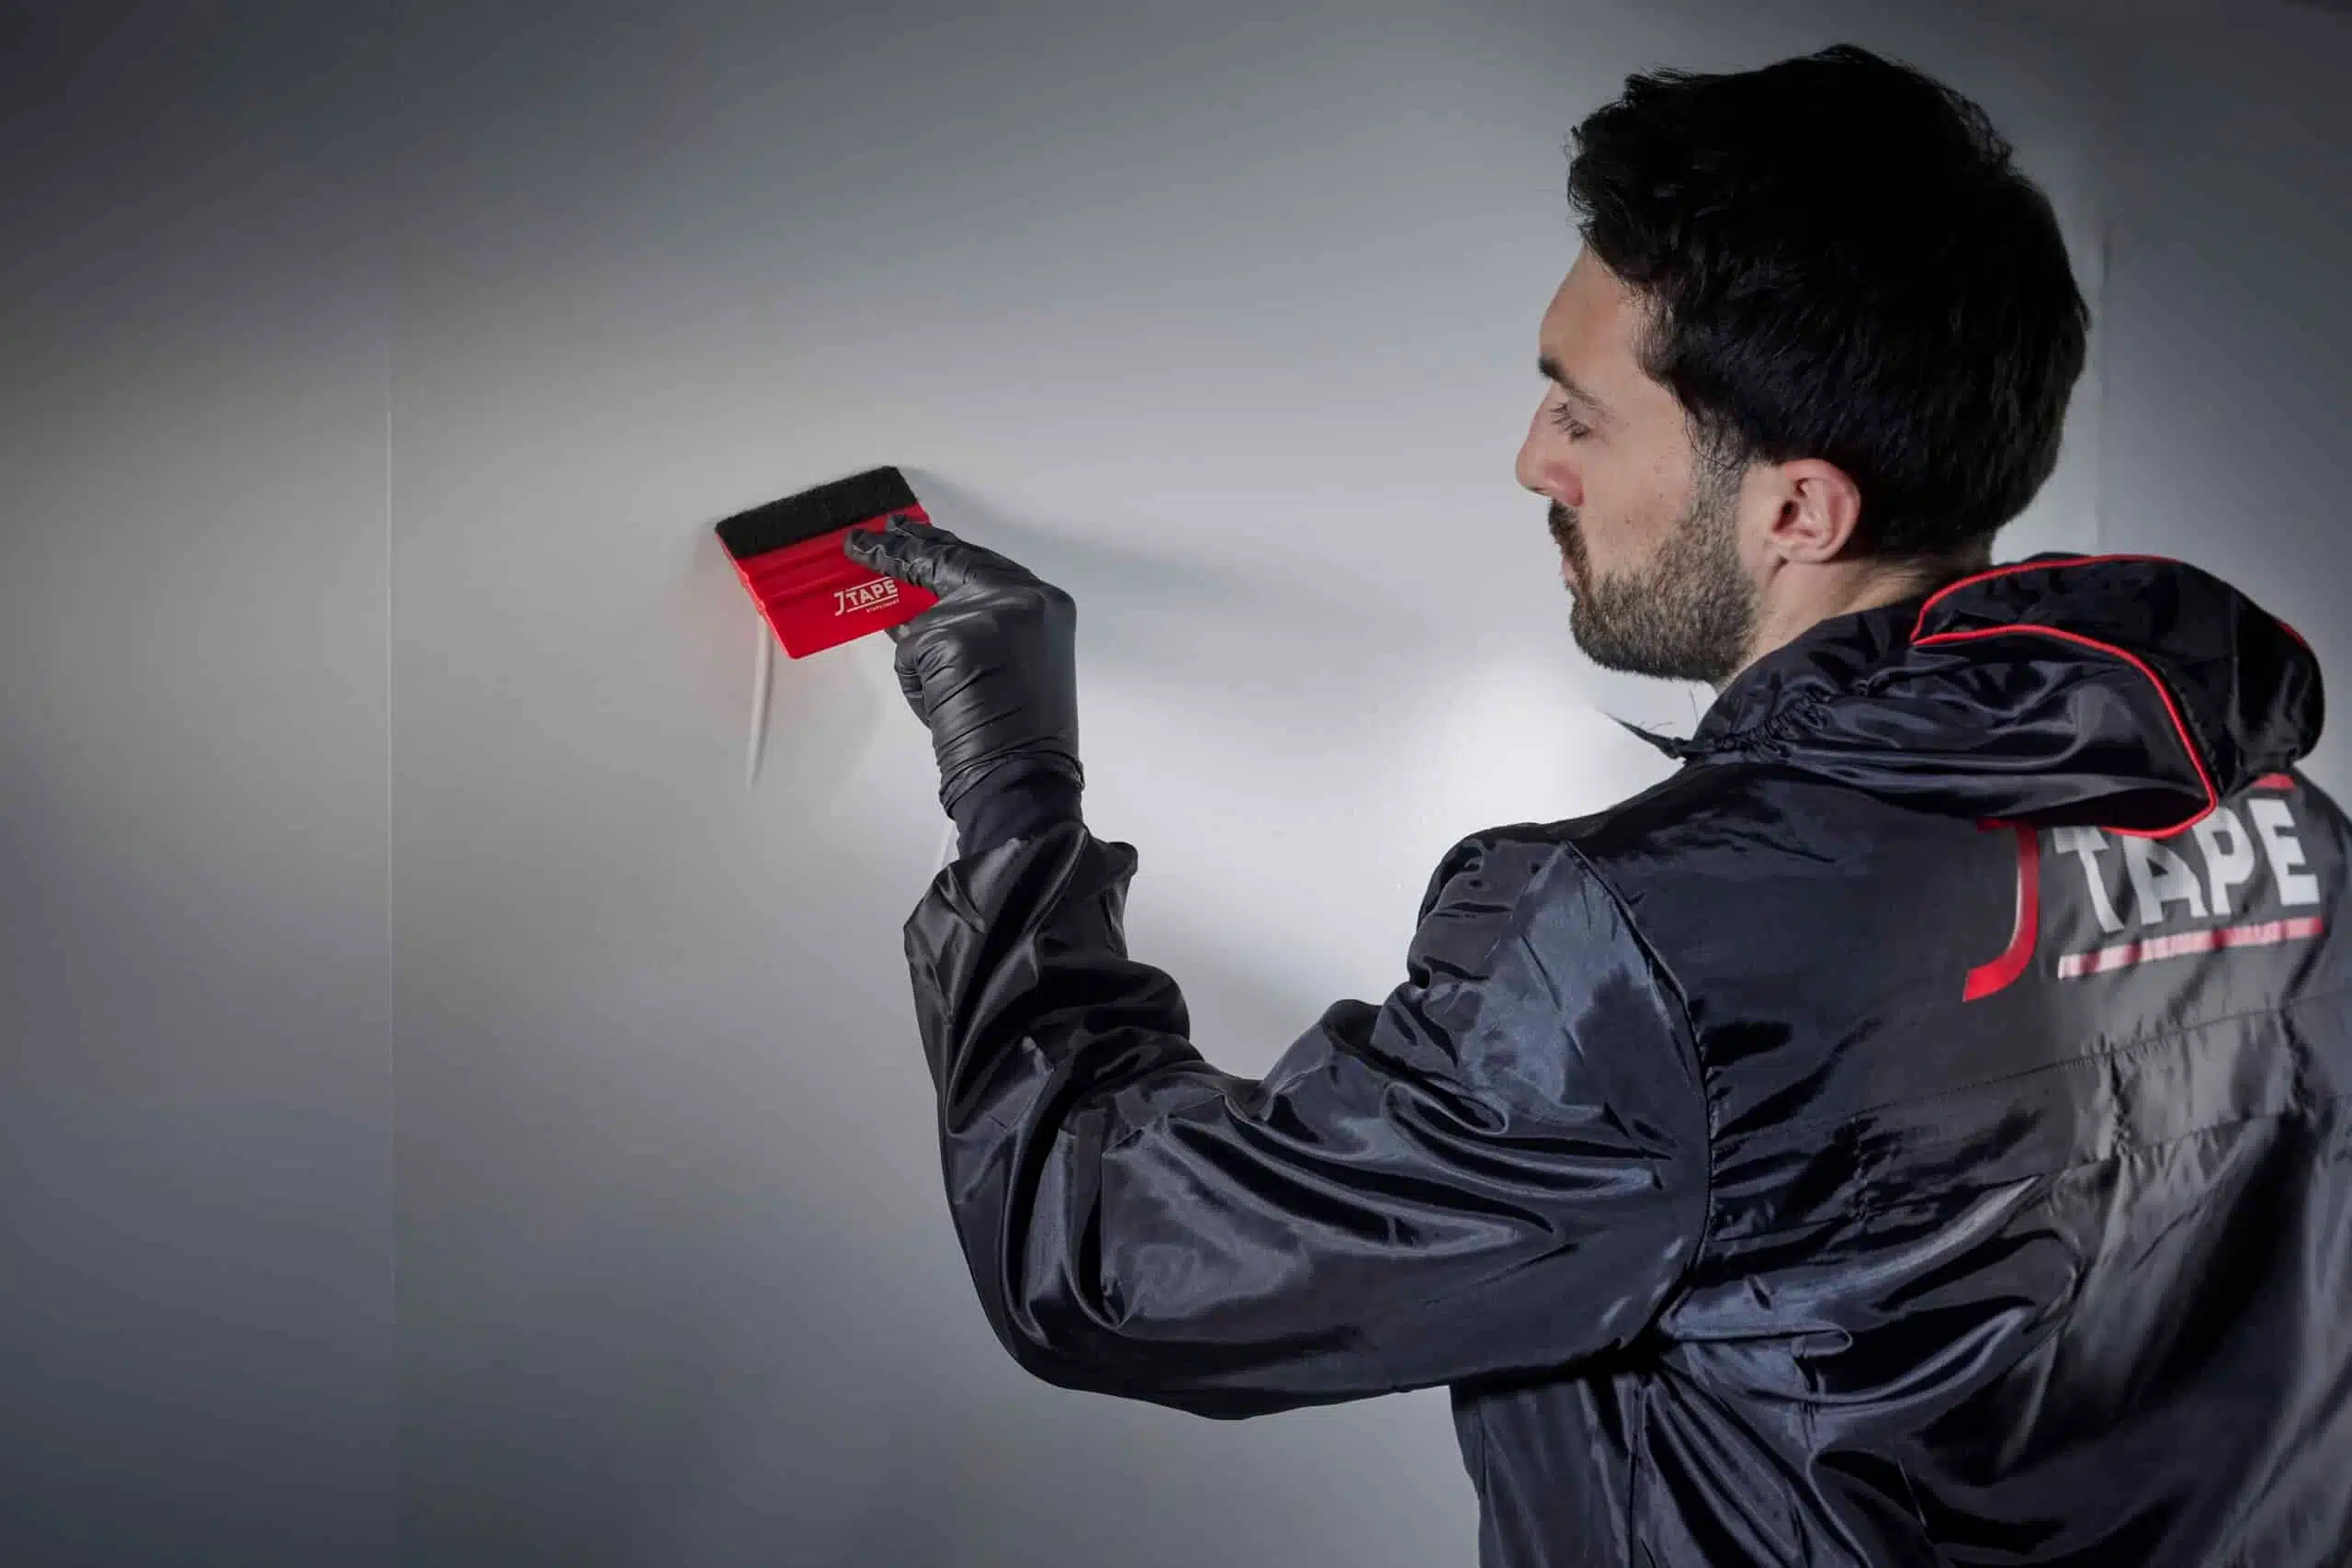
Selecting the right products makes a world of difference. A flexible tape that adheres to uneven surfaces will be an invaluable tool to use for masking textured walls and other surfaces. A tape like 130ºC Flat Orange Precision Masking Tape, for example, offers good adhesion on many types of surfaces and provides the flexibility and precision needed. What’s more, this medium tack tape also provides a residue-free removal, leaving you with clean, sharp paint lines. For further protection from overspray, a flexible, medium-tack masking film can be a useful product.
2. Prepare the surface
Before beginning the masking process, ensure that the surface is both clean and dry. A duster will remove surface-level dirt, but a wipe with a mild soap and water solution on a sponge or cloth can help to shift stubborn stains before leaving to dry.
3. Carefully apply tape
Next, it’s time to apply the tape to the area that you want to be masked. This is a delicate process, so don’t rush it. Press firmly and apply even pressure to the tape so that it sticks adequately to the surface. If applying a film on an uneven surface, you might be best using a rivet brush rather than a typical film applicator.
4. Seal the edges
To avoid the paint bleeding under the tape, it can help to ensure that the edges are properly sealed. During this step, you might decide that using a caulk gun would be beneficial to adequately secure the edges down. However, be sure to apply only a thin bead of caulk and remember to smooth it to ensure the edge is fully sealed.
How to paint textured surfaces
Now that the surface is properly masked off, it’s time to start painting. Here are a few tips unique to textured surfaces:
1. Choose the correct tools and paints
As with most professional jobs, it all starts with the use of high-quality products. High-quality brushes and paint will leave a better finish and will save time, reducing any touch-ups at the end. A long-pile roller is usually better for textured surfaces because it is more easily able to reach the textured parts.
2. Start with primer
Priming a textured surface is crucial because it provides a consistent base for the paint to adhere to. This ultimately leads to a more consistent, durable finish, which, again, will lead to less touch-up time after the paint job has been completed.
3. Cut in the edges
Cutting in the edges of a surface, particularly an uneven one, allows you to concentrate on achieving a clean and precise finish for the corners and other intricate areas before applying paint to the larger surfaces. Nailing this step gives a professional look to the finish and is usually a giveaway of whether a professional or amateur completed the job.
4. Paint the rest of the surface
After successfully cutting in, you can then move on to painting the rest of the surface, taking just as much care as before. Apply paint to the deep-pile roller and evenly coat the surface. Repeat this process until a desirable finish is achieved.
5. Quality assurance
Once you’ve painted the surface, you can start to assess the quality of the work. Ensure that there are minimal visible brush strokes on the surface and remove bristles that may have come off in the paintwork.
Removing tape from textured surfaces
When removing tape from any surface, we’d recommend waiting until the paint is dry to touch but not fully cured; this is to avoid the paint cracking.
When the paint is at the desired stage of drying, gently peel it away at a 45-degree angle to reveal residue-free, clean paint lines that JTAPE and our masking solutions are renowned for.
With the right high-quality products and the proper techniques, you can achieve the precise results that customers are looking for without too much hassle. For world-class masking products that are trusted around the world, take a look at JTAPE’s range.