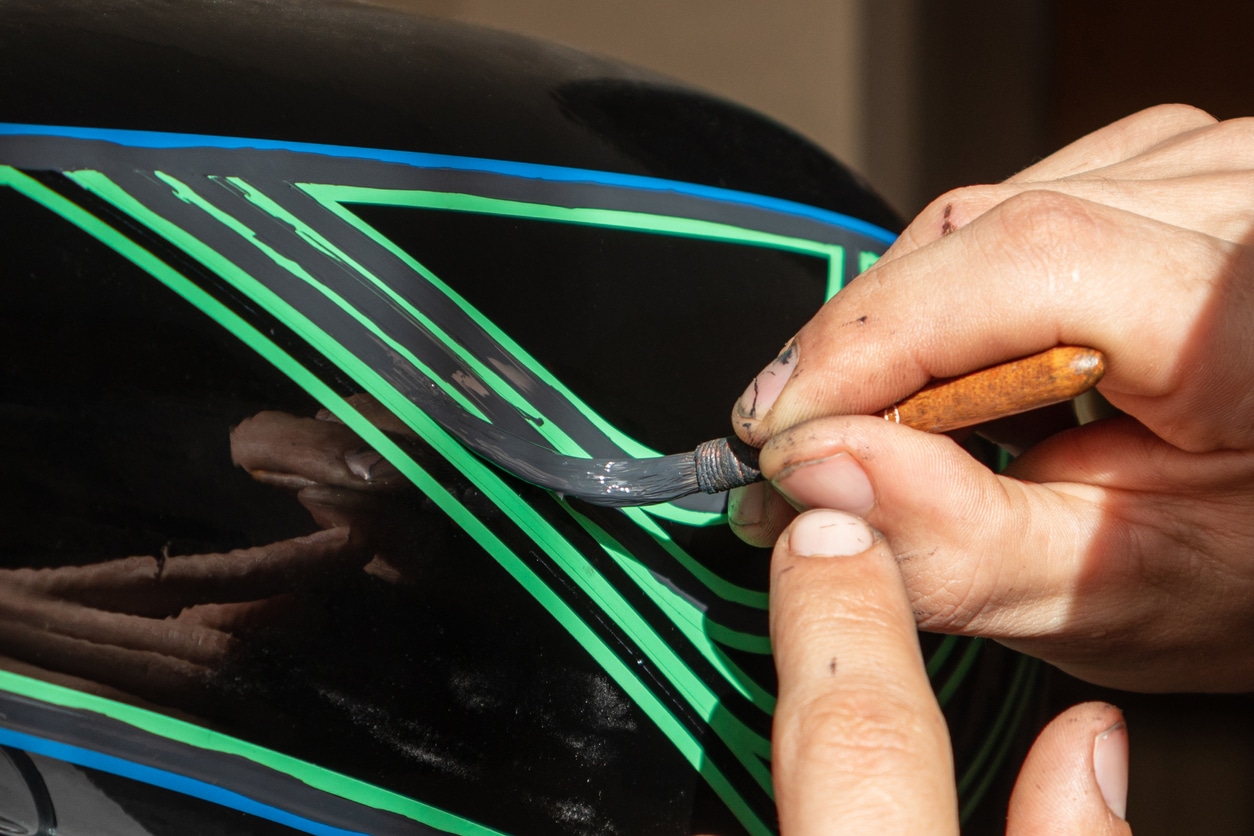
Are pinstripes difficult to achieve?
Done well, pinstripes on a car look great, and are part of a rich history of customisation. It is also one of the simplest types of customisations to do well – but even though it is simple to do, you still need to have a good eye for design and shape to be able to get the results.
While pinstripes aren’t difficult to achieve with the correct preparation and tools, they’re also surprisingly easy to get wrong by rushing the job or trying to “make do” with subpar tools and materials.
The keys to good pinstriping are care, patience, and choosing the right pinstriping tape from JTAPE!
What tape should be used for pinstriping a car?
To get a clean, sharp, and perfectly defined line when pinstriping, you should use dedicated pinstriping tape, specifically JTAPE Striping Tape or JTAPE Customising Tape.
Striping tape is pre-cut fine-line masking tape with a central section (or sections) that can be removed to mask above and below the line and leave a consistent width along the area that you want to paint.
It makes the job of pinstriping straightforward because it allows you to define the area that you want to paint in one go, and then remove the middle section of tape to reveal the area that will be painted.
Striping Tape
JTAPE Striping Tape is specially designed to be used for pinstriping, allowing professionals to peel back sections to provide clean, straight lines during the painting process. It’s heat resistant up to 120°C for 60 minutes, making it a versatile tape to use with a variety of painting methods.
Customising Tape
JTAPE Customising Tape is also designed for pinstriping, but offers additional flexibility, making it easier to follow the curves of swage lines, petrol tanks on motorcycles and tackling more complex designs.
How to pinstripe a car
Now that you’ve got the ideal tools for the job, let’s take a look at how you can use JTAPE Striping Tape and Customising Tape to deliver perfect pinstripes.
1. Prepare your surface
Good preparation gives good results.
As with any paint job, getting the surface right is essential. Clean the surface you are about to pinstripe thoroughly. Remove dirt along with wax, polish, and grease to leave a perfectly clean paint surface for the fresh paint to adhere to.
2. Apply striping or customising tape
Next, apply the JTAPE pinstriping tape along the side of your vehicle. Press the tape down firmly to remove bubbles and avoid creases that could make the line uneven. Finally, peel away the release tape sections to create the stripe effect you want.
3. Mask off surrounding areas
Finally, mask off the surrounding areas with ordinary JTAPE masking tape. Depending on factors like heat resistance, and how flexible you need your masking tape to be, we would recommend either 80°C Premium Masking Tape or 120°C Blue Masking Tape for this part.
This protects the surrounding areas from overspray that might take away from the effect of your striping.
4. Paint vehicle
When pinstriping a vehicle, it’s best to be patient and not rush the job to apply even, smooth, clean lines across the vehicle.
5. Remove tape
Once your paint dry to the touch, but not fully cured, you can gently peel away the masking and striping tapes to reveal your work and allow you to stand back and admire your Von Dutch style result!
Best practice tips for pinstriping and improving your skills
Alongside the basics of pinstriping, there are also a few other consideration to be aware of to help you achieve the best results every time.
Practice techniques to master pinstriping
Like with anything, and particularly with automotive painting, practice makes perfect. If possible, practice using spare body parts before jumping into your first project.
Experiment with different designs and patterns
The more time spent experimenting with different scenarios, the better you’ll become at pinstriping across a variety of designs and shapes. When it comes to pinstriping, it’s all about personalisation, so don’t become a one-trick pony.
Plan your designs in advance
By planning ahead, you can ensure that you’ve correctly masked the right areas and have all the correct tools and materials required to complete a professional job.
Work in small sections
To deliver the best results, it’s recommended to work in small sections. This will allow you to focus on perfecting each section before moving on to the next.
Use high-quality striping/customising tape
A automotive professional is only as good as the tools they’re using, which is why JTAPE develop high-quality striping tapes that will not only deliver a quality finish but also save time and money for customers.
Take your time and apply tape slowly and steadily
Automotive painting is a marathon, not a sprint. To deliver the very best results, take your time to help prevent avoidable mistakes.
Apply paint carefully
You’ve prepped everything, masked off the area perfectly, and put in hours of practice, so you don’t want to throw away all your hard work and prep time by rushing the final step. Paint carefully and methodically to ensure that you don’t fall at the last hurdle.
Find out more
For more information about buying the right tapes to get a great pinstriping result, please visit our online store, or contact us to find out more about our full range of masking tapes and films.

