Our step-by-step guide will help you through the process of painting your boat to get the best possible result.
Step 1: Get yourself ready
Before you start the job of painting your boat, read all the instructions on your paint and equipment and ensure that you have the right protective equipment for the task. Masks, gloves, and eye protection are essential when painting, so make sure you know how to use them correctly.
Step 2: Get the boat ready
There’s an old saying that the more time you spend on preparation, the less time you spend on the job.
Start off by removing any hardware that you can – vents, cleats, rails, and wood trims. This will create a simpler surface to mask off and allow you to concentrate on those items separately.
Use specialist masking tapes and films to protect surfaces that you don’t want to get paint on. This will reduce the amount of time that you need to spend on clean up after you have finished painting and save you money.
Step 3: Carry out any repairs
If you want to get the best finish, you need to get the best surface.
Go over your existing paintwork to find any minor chips or gouges and then fill or sand them out to create a smooth surface. This will give the paint a perfect finish.
Step 4: Prepare the surface
To get the best finish, you need to thoroughly prepare the surface. Remove wax, sand back to a smooth surface and wash fully to remove dirt, grease, and any oils so that the paint stays where you want it to.
This is the point where you will also need to protect any areas that you don’t want to paint using high quality masking tape or film.
Step 5: Apply primer
Good coverage of primer is vitally important across any areas that you want to paint. It gives an even undercoat and removes any imperfections so that you don’t have to go back and re-work areas later. Depending on the primer, you may need to sand over the initial layer using a fine abrasive to create the foundation for a great finish – make sure you clean away any dust from the sanding process.
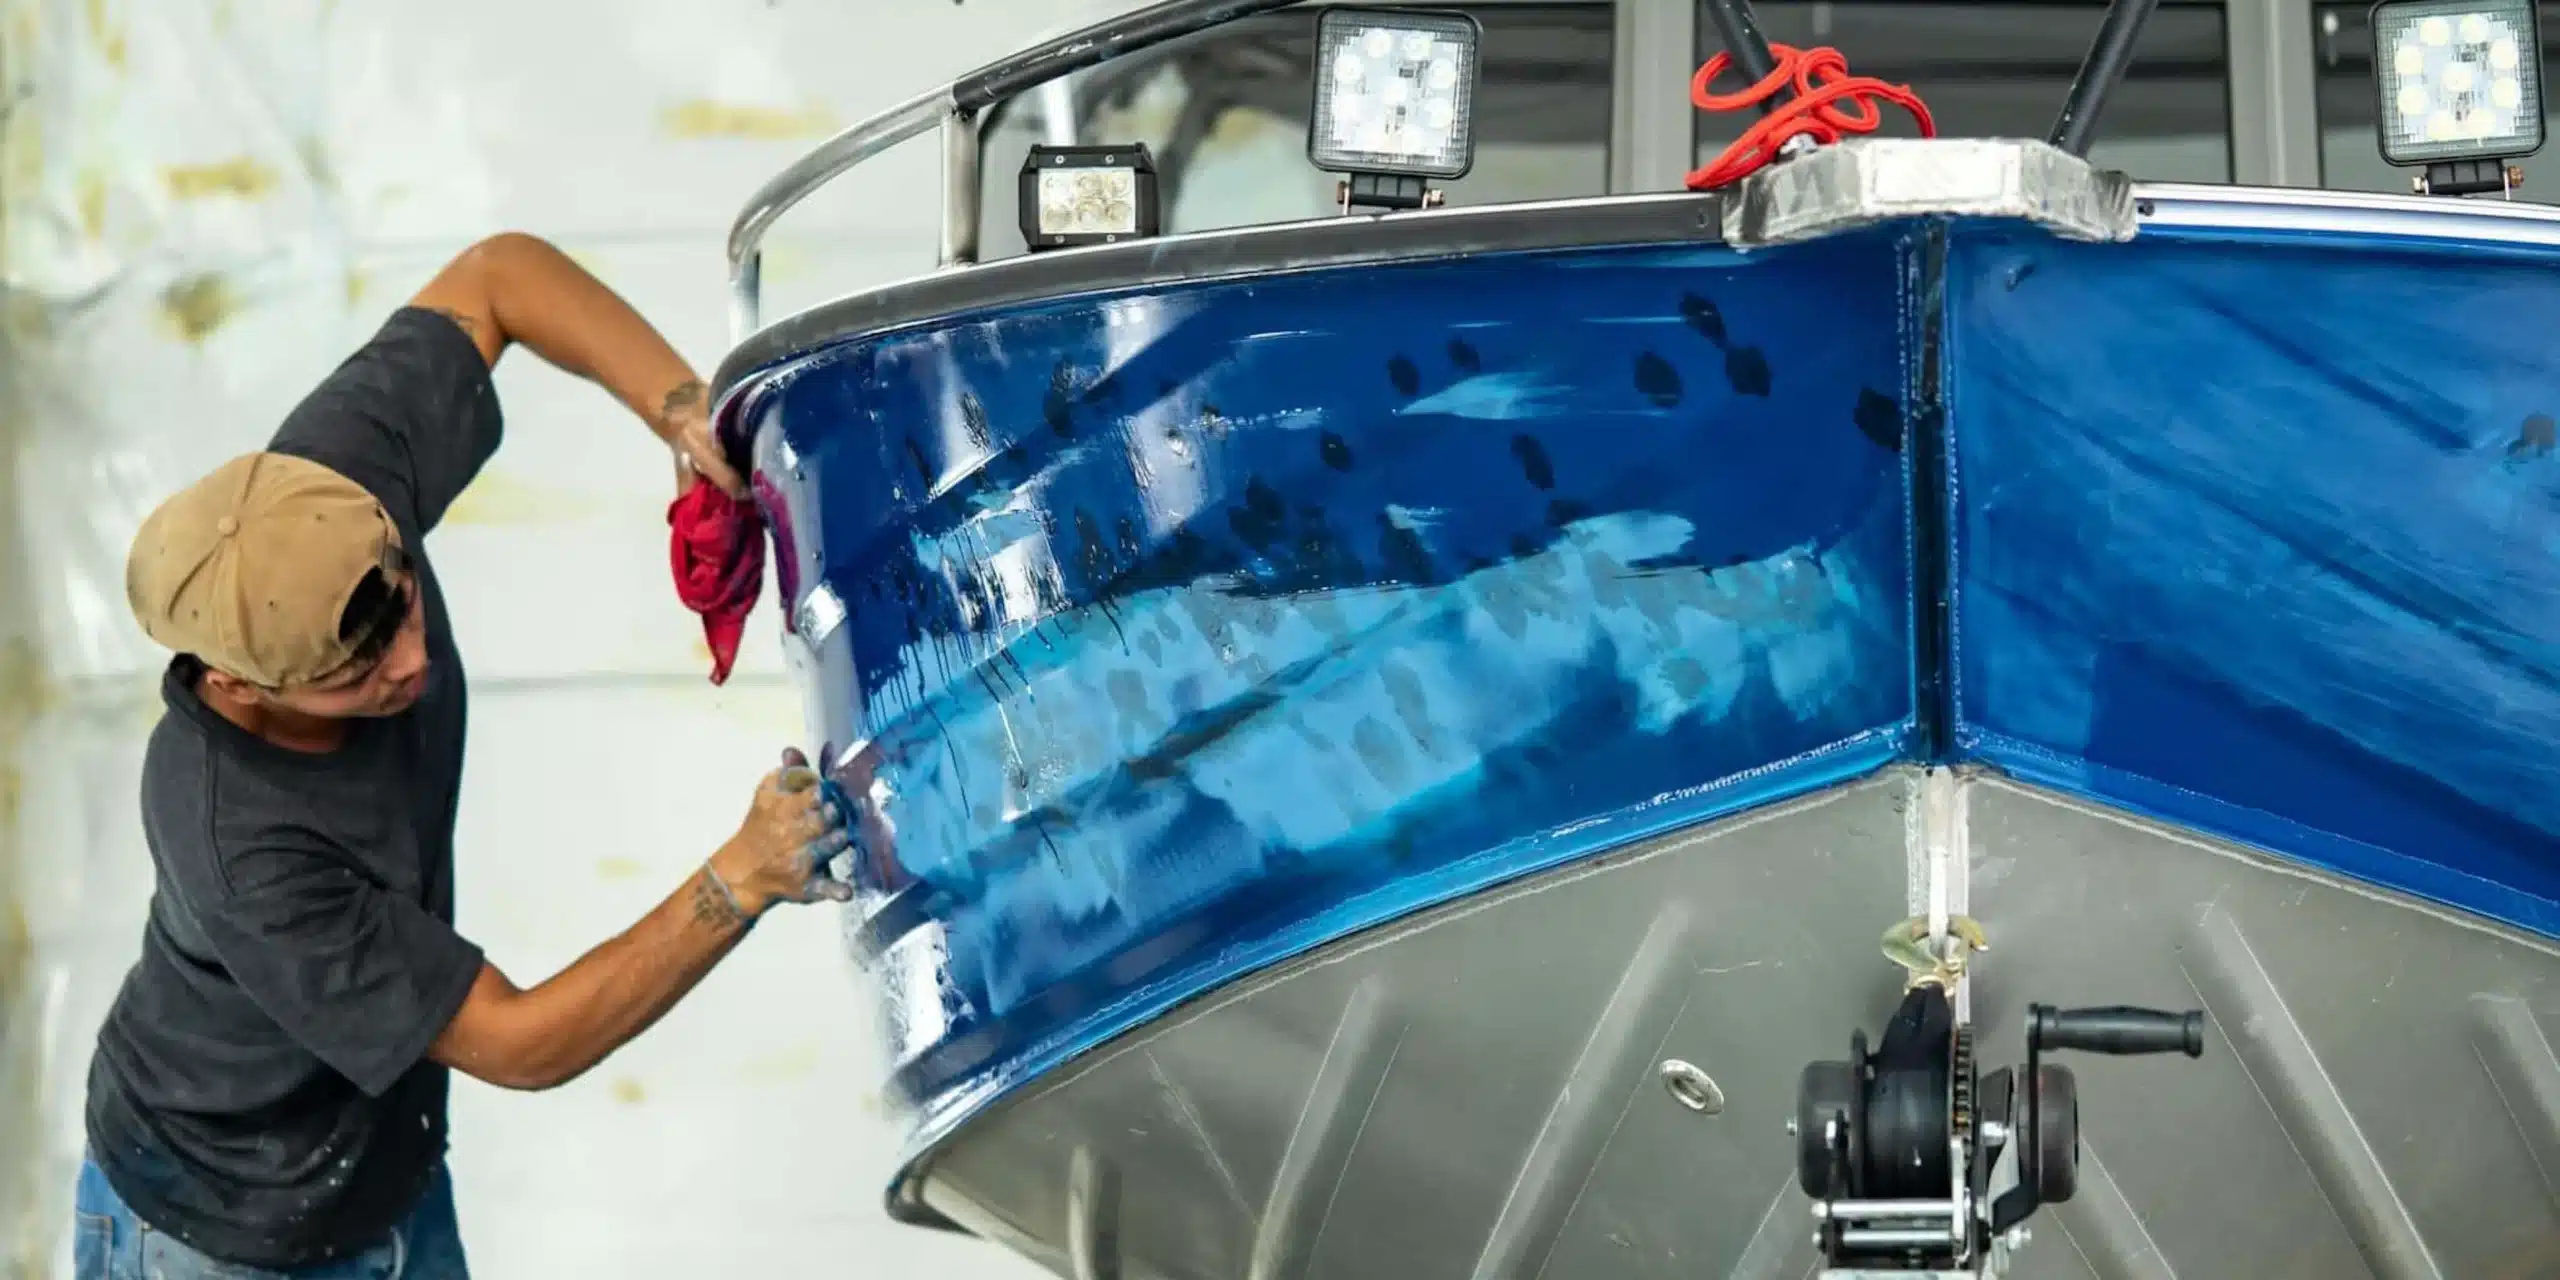
Step 6: Painting
Now all the work getting ready is complete, you can finally start to create the final paintjob.
Depending on the design you are working to, you might need to mask off areas to allow for a two-tone finish. Fine line masking tape will help to ensure that you get the cleanest possible lines on your design.
Step 7: Clean down and wax
A coat of wax from stem to stern on your boat will protect your new paint job and help ensure smooth sailing. Once you’ve protected your paint, you can remove any masking products and replace your hardware to complete the job.
Be sure to clean your boat thoroughly after every outing to prevent the paintwork from deteriorating over time.
To find out more about the specialist range of marine masking tapes and protective films available from JTAPE, call us today on +44 (0)1625 618185 or complete the contact form.
If you already know what you want, why not buy direct from JTAPE through our secure online shop?