How to prepare and mask a motorbike for painting
Proper preparation and masking are essential for achieving a high-quality motorcycle paint job. Find out the best way to handle the prep work in the steps below.
Protect the painting space/spray booth
Before you begin preparing the motorbike, you must protect the spray booth. We recommend using our JTAPE Non-Slip Surface Protection Film for the floor of the booth, and our Tacky Booth Protection Film for the walls. These films are designed to easily cover and protect the surfaces within body shops. Simply lay the film out from the roll with the adhesive side facing down and cut to the desired size. Secure it by taping the borders using White Premium Cloth Protection Tape to prevent lifting and ensure paint can’t reach the floor of the spray booth. Whether you’re covering the floors, equipment or other surfaces within the painting space, these protection films are the ideal solution.
Clean any surfaces that are to be painted
The next step is to clean any surfaces that will be painted. Not only will this help the paint apply smoothly, but it can also prevent masking issues such as lifting. To eliminate any glues, silicones, fuel or other contaminants, it’s recommended to wipe the motorbike’s surface with a degreaser, using a cloth. Afterwards, the surface should be thoroughly wiped clean with another cloth to ensure no degreaser is left behind.
Remove parts where necessary
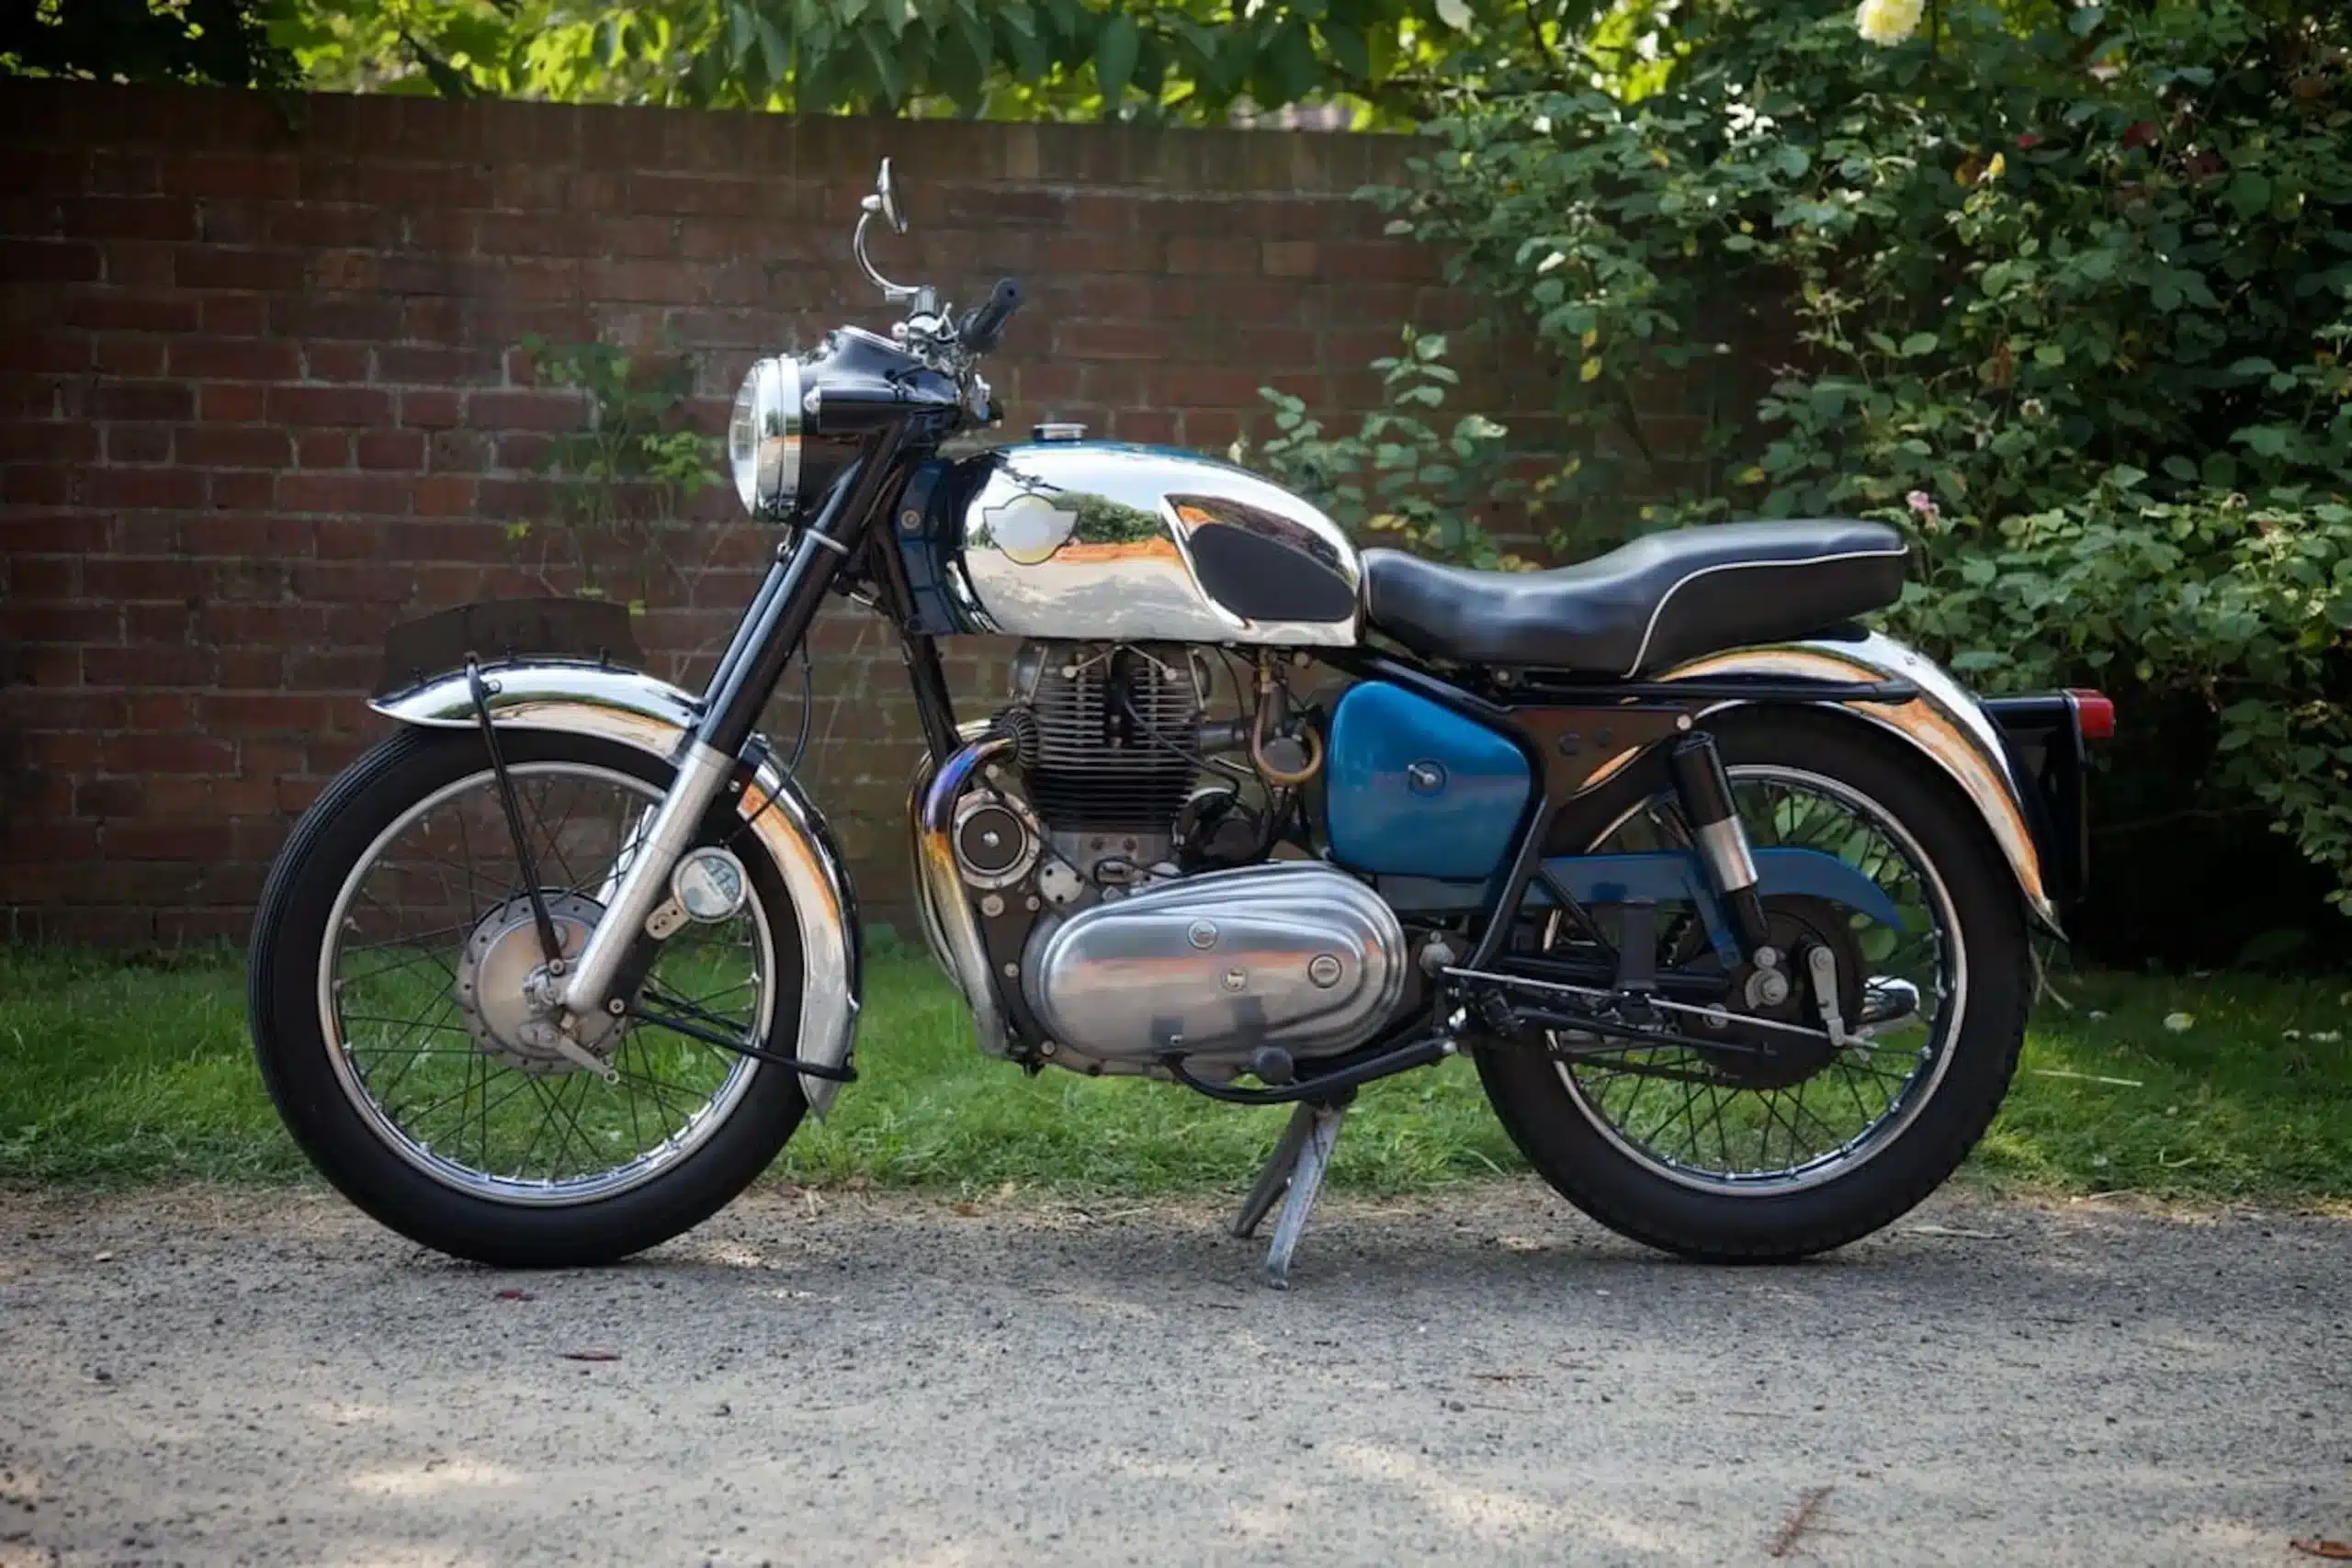
Since motorbikes are much smaller than cars, it’s often considered best practice to remove parts rather than masking them off for painting. This is mainly because it can be quicker and easier, but it also prevents the risk of overspray on nearby parts or fixtures that could be time-consuming to remove. For instance, we recommend removing the fairings and gas tank if these will be painted because it can be difficult to mask off around these parts and accurately prevent paint from seeping into the interior of the motorbike. However, it’s still possible to mask off most of the bigger areas on a motorbike for painting provided you use the correct automotive masking products and techniques.
At this stage, you should decide whether you’ll be spraying the parts individually or directly onto the motorbike. This will impact the amount of time you need to set aside for masking later.
Sand surfaces that are to be painted
The next step is to sand any surfaces that will be painted to eliminate any imperfections, leaving you with an even base for the motorbike paint to adhere to.
While a sander can be used on flat areas of the bike, we recommend manual sanding over any curved surfaces. Wet sanding can often be the best approach for curved surfaces on engines and tanks since it can be less harsh and ensures you’re only removing the current paint layers. The last thing you want is to create holes or dents that could compromise these parts, so it’s important to be careful and apply body filler if you accidentally sand off any metal. Once everything has been sanded, be sure to rinse and dry the surfaces with a clean cloth.
Mask areas of the bike where needed
Before painting, you’ll need to mask off some areas of the bike. Whether it’s to protect the internal sections of the bike after the removal of certain parts or to prevent overspray from ruining the final product, here are a few parts to mask off and the techniques that should be used.
Fuel filler cap
Masking a fuel filler cap is a fairly straightforward process. Similarly to how you would mask off a car’s fuel filler cap, you’ll need to open the filler door and apply the tape inside to protect the internal fixtures during the painting process. Then, take our Fine Line Masking Tape, or Premium Masking Tape depending on the tank, and carefully apply this around the opening to the fuel tank. Press the tape down with your fingers to secure it and close the fuel filler door.
Engine & tank
Masking motorbike engines and tanks can be a complex process that involves careful attention to detail. Due to the intricate design of motorbike engines, it often requires more time and effort to mask them correctly. This includes covering all areas that do not need to be painted with precision to prevent any overspray. The masking process for motorbike engines and tanks is crucial as it ensures that the engine’s functional parts, such as the carburettor, electrical components, and other delicate parts, are protected from any damage or paint contamination during the painting process.
It would be best to use Premium Clear Masking Film here, taped up with Premium Masking Tape. Since many of these parts are circular, our tape can easily bend around curves to offer the best protection against seeping paint. Simply apply this over any of the functional parts and valves, checking that they’re fully covered and that the tape is secure.
Apply body filler where necessary
Before painting, automotive body filler should be applied to any small dents or scratches to smooth over the surface. The filler can be applied using a putty knife or a plastic spreader and should be added slowly to ensure you’re only using it as needed. Smooth it over after each layer has been added to check your progress. Once you’re happy, allow the filler to dry completely.
Sand body filler
Finally, sand down the body filler to achieve the ideal base for the paint to stick to. Take care during this process to sand evenly and use low-grit sandpaper. This step is necessary to ensure that the surface is smooth and free from any bumps or ridges. After sanding, the surface should be cleaned again to remove any dust or debris.
How to paint a motorbike
Here we’ll focus on a few of the most common areas the paint, including fairings, engines and tanks. From priming to key things to think about, we’ll show you the step-by-step procedure of how these tasks should be handled.
Painting Motorcycle Fairings
Motorcycle fairings are protective plastic covers mounted on the front forks, handlebars or frame. These are typically made of either fibreglass or ABS plastic and are added to improve the bike’s aerodynamics, engine efficiency and mileage. Above all though, fairings are mostly added as an aesthetic choice.
To customise a motorcycle fairing, you’ll first need to ensure all the parts are disassembled and removed from the bike. Because the parts are smaller, it’ll be easiest to work on them one by one.
Once you have your parts laid out, you can spray each one being sure to change your spray gun settings to achieve low PSI. This will allow you to work on each piece and evenly coat everything to get the best finish.
Painting Motorcycle Engines
Motorbike engines can be painted in a few different ways. Because the engine becomes hot, the paint must be able to withstand the heat without being compromised. Some professionals opt for aerosol spray paint for this reason since many of these have high heat protection properties. However, we recommend using a spray gun to disperse acrylic enamel for this task since you’ll have more control over the settings such as distance and viscosity. This paint type also offers excellent heat resistance and won’t be compromised by the extreme temperature differences experienced on the exterior of the engine.
Painting Motorcycle Tanks
Motorcycle tanks are a crucial part of the engine as they store fuel, and they require careful handling to avoid damage. Despite this, it’s possible to paint the tanks using specialist skills and techniques. Paint can actually be used to add a layer of protection to the tank’s surface and prevent issues such as fuel leaks.
To start with, the surface of the tank must be adequately prepared. This involves cleaning the surface and then sanding it manually, making sure to sand evenly around the curved surfaces. The final step in the preparation process is to apply a coat of primer and allow it to dry completely. This creates the perfect base for the paint to adhere to while also preventing rust.
When painting motorcycle tanks, a high-quality paint is essential. The paint should be able to withstand harsh elements and prevent fading over time. Professionals must also make sure to apply the paint evenly to achieve a smooth and consistent finish. By using the appropriate techniques and materials, professionals can ensure that motorcycle tanks are painted safely and effectively, providing a long-lasting and durable finish.
How to customise a motorcycle using tape
If your customer has requested to add a pattern, design or other paint customisation to the surface of their motorcycle, the best way to handle this is to use customising, striping or Fine Line Masking Tape. The tape you choose to use will depend on various factors, including the size, shape and placement of the design. These tapes come in various widths and colours, allowing you to create crisp, clean designs regardless of the placement or size.
First, thoroughly clean the area to ensure the tape adheres correctly and that no dirt or debris is in the way of the paint application. Next, measure and mark the area where you want to apply the tape. The best technique for this is to use a ruler or a tape measure to get accurate measurements.
Then, select the tape width that best matches your design. For example, if you want to create thin lines, you can use JTAPE Fine Line Masking Tape. However, if you want to create wider lines, shapes or lettering, you may need a Customising Tape or Striping Tape.
Once you’ve selected the tape, apply it to the marked area, making sure that it sticks firmly to the surface. With our selection of high quality tapes, you can change the placement as many times as needed and apply these around curves and bends. Once you’re satisfied with the placement, secure the tape by pressing down firmly.
Once you’ve applied the tape, you can use a spray gun on a low PSI setting to apply the paint. Using a low setting is essential for ensuring the paint is concentrated, which is best for working on smaller areas. Once the paint has dried, carefully remove the tape to reveal your design.
Whether you’re an automotive body shop specialist looking to introduce motorcycle painting to your skills repertoire or you’re a body shop manager looking for better insight into the masking and painting process for motorbikes, we hope you’ve found this guide useful.
At JTAPE, we’re proud to offer excellent quality masking products suitable for use in the automotive industry. To discover our full range of automotive tapes and films, check out our product page.