How to Repair a Cracked Bumper
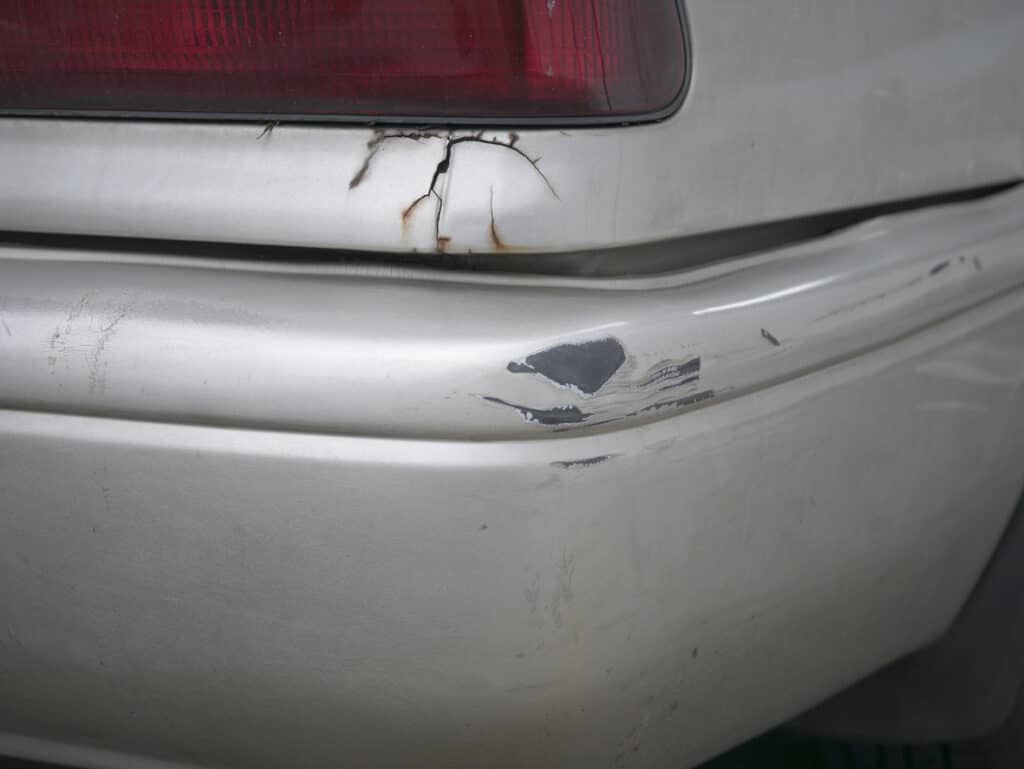
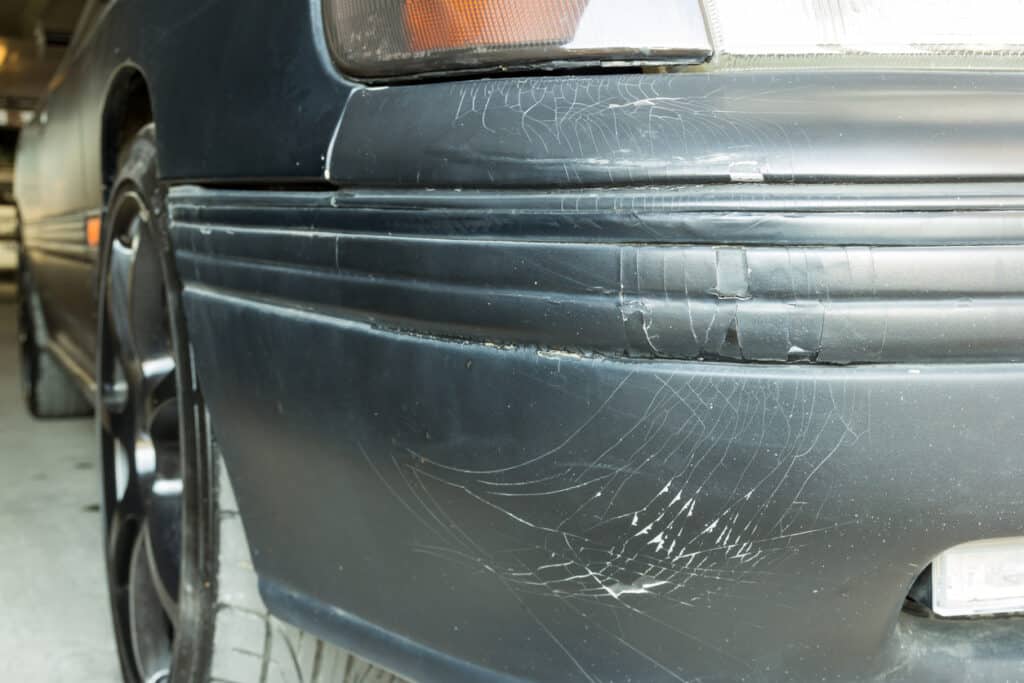
A cracked bumper is an unsightly defect, and if left untreated, it can also affect the vehicle’s structural integrity. This type of damage can be a result of reversing into an obstruction, being caught up in a collision or simply bumping the bumper while driving or parking. Whatever the reason for the damage, body shops should be ready to advise their customers on the best way to fix these defects and ensure they can be up and running again in no time.
This piece will discuss when to repair and when to replace a cracked bumper, alongside explaining how to fix a cracked bumper. From structural fixings to repairing the paintwork and finish, we can help you perfect your skills in this area.
Automotive Plastic Repairs – Does a Cracked Bumper Need to be Replaced?
In short, a cracked bumper doesn’t always need to be replaced. Automotive plastic repairs are becoming more common as plastics are increasingly used in automotive engineering for collision repairs. So for body shops, this means that a repair job should always be the first thought when a customer brings in a vehicle with a cracked bumper.
Of course, some circumstances will call for the bumper to be replaced. For instance, some manufacturers advise against repairs and these vehicles would instead require a new bumper to be installed. A bumper with damage left untreated or with multiple cracks might also need to be replaced. To decide which is right for the job at hand, a thorough assessment must be carried out.
Plastic repairs can also be classified as SMART repairs if the cracks or dents aren’t too deep. In these cases, localised repairs can be carried out without removing the bumper, making this a much cheaper and more efficient option than a bumper replacement.

Repairing vs. Replacing a Bumper: How to Assess
Your team will need to assess the damage of each vehicle on a case-by-case basis to find out whether repairs are enough, or if a replacement is needed. During your assessment, it’s worth considering the following questions to help decide which route is best.
Is it possible?
Start by examining the damage to find out if a repair would be possible. This will involve checking the manufacturer’s guide for the vehicle to check that bumper repairs are permitted since some vehicle types require replacements. Your team will also need to consider the size and depth of the crack since this might impact the structure of the bumper and prevent it from being repaired.
Is it safe?
Safety is always a top priority when repairing or replacing car parts. If a repair is carried out, you should ask yourself whether the structural integrity of the bumper is at the levels it should be. Bumpers are designed to keep drivers and passengers safe, but if the structural integrity is compromised, this could put people at risk if further damage is sustained later on.
Remember that parts should always be replaced if this is advised by the manufacturer’s guidelines. Replacement is also necessary if the underlying structure is damaged or if repairs could affect the vehicle’s safety systems and sensors.
Is it efficient?
If the bumper is only cracked in one spot or the damage appears less severe, a repair is likely to be the most efficient option. However, more severe cracks and damage to the bumper could take much longer to repair, which typically suggests that a full replacement is needed.
A Vehicle Damage Assessor (VDA) will estimate the number of hours required to repair the bumper. This estimate will be compared to the cost of ordering a new bumper, as well as the availability and delivery timeframes for any necessary parts. This comparison allows your team to identify the most cost-effective and efficient solution.
Is it the best option for the customer?
Ultimately, your team should be doing what’s best for the customer. So if a repair only offers a temporary fix to a much bigger problem, it’s best to advise customers accordingly. For some customers, a SMART bumper repair might be the best option if their damage is minimal and a quick solution is needed. Meanwhile, the best option for bigger cracks, dents or scratches might be a repair or replacement. Work with the customer to find out how quickly they’d like the work to be completed and be transparent about their options.

Step-By-Step: How to Repair a Cracked Bumper
Once you’ve made the initial decision to repair a cracked bumper, you’ll need to begin the repair process. Here, we’ll guide you through the step-by-step process that will leave you with the perfect finish for your customers, while being able to carry out the work efficiently and with as little hassle as possible. It may be that you’ll need to remove the bumper in order to make the repairs, but this should be a last resort.
1. Assess the damage
First, take the time to assess the severity of the damage. The best way to do this is to remove it since you’ll be able to see how big the crack is, alongside being able to examine any other damage or hidden cracks. This should also help you make a firm decision about whether the bumper should be repaired or completely replaced.
2. Mask off the area
The adjacent panels and areas must be protected from the drilling, sanding and painting in later steps if the bumper hasn’t been removed from the vehicle. Therefore, we recommend applying JTAPE Premium Cloth Protection Tape around the adjacent edges of the bumper. This double-strength automotive cloth protection tape will prevent unwanted damage or overspray in these areas and ensure your finish is clean and high quality.

3. Drill the crack carefully to prevent further damage
Drill two holes; one at each end of the damaged area. These holes should be around 6mm in diameter since this will create a barrier preventing further cracking on the bumper.
4. Carve & grind for more bonding space
The next step is to create a bigger surface area for bonding. This can be achieved by carving a V-shaped groove into the front-facing edges of the area being repaired. Using a grinder and a sharp knife to remove excess plastic residue, grind the area following a ‘V’ pattern.
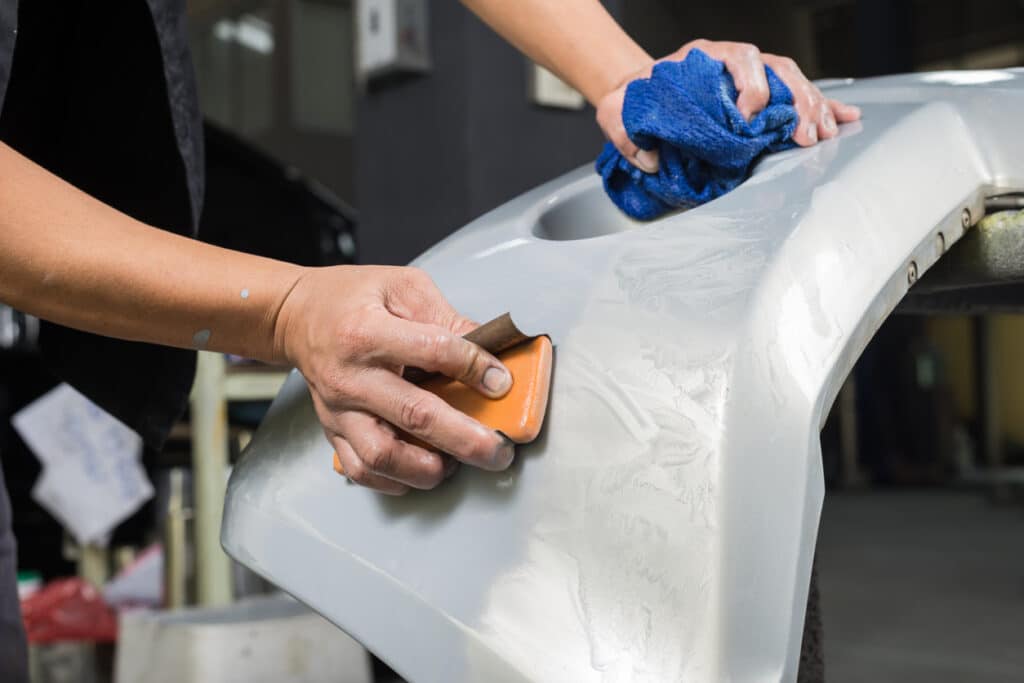
5. Sand the damaged area (front & back)
Once the V-shape has been carved into the cracked area, it should be sanded down on the front and back of the bumper using a medium grit. Not only will this help remove some of the damage, but the micro-abrasions created from sanding will also help the plastic adhesion promoter work better and allow the paint to stick to the surface properly.
6. Prepare the damaged area with plastic adhesion promoter (front & back)
Proper preparation is key to ensuring the plastic adheres well and is brought back together correctly. Spray a plastic adhesion promoter on the front and back of the damaged area so that the epoxy and filler added later can adhere properly and leave the vehicle with a smooth finish.
7. Apply Epoxy to both sides
Apply epoxy to both sides of the bumper and allow time for drying. We recommend starting at the back, smoothing out the application with a spreader and then moving on to the front which will be more visible. This will strengthen the area before applying body filler.
8. Prepare and sand the surface
Once the epoxy has hardened and dried, sand the area again to create a smooth base for the body filler to stick to. The edges of the repair area should be feathered and there should be a slight dip where the crack was.

9. Apply body filler
Take your pre-mixed automotive body filler and apply it evenly to the repair area. Take care during application to follow the curves and corners of the bumper and smooth it over with a spreader. This will be crucial for guaranteeing a professional finish.
Once the body filler is dry, sand the area lightly to prepare it for painting.
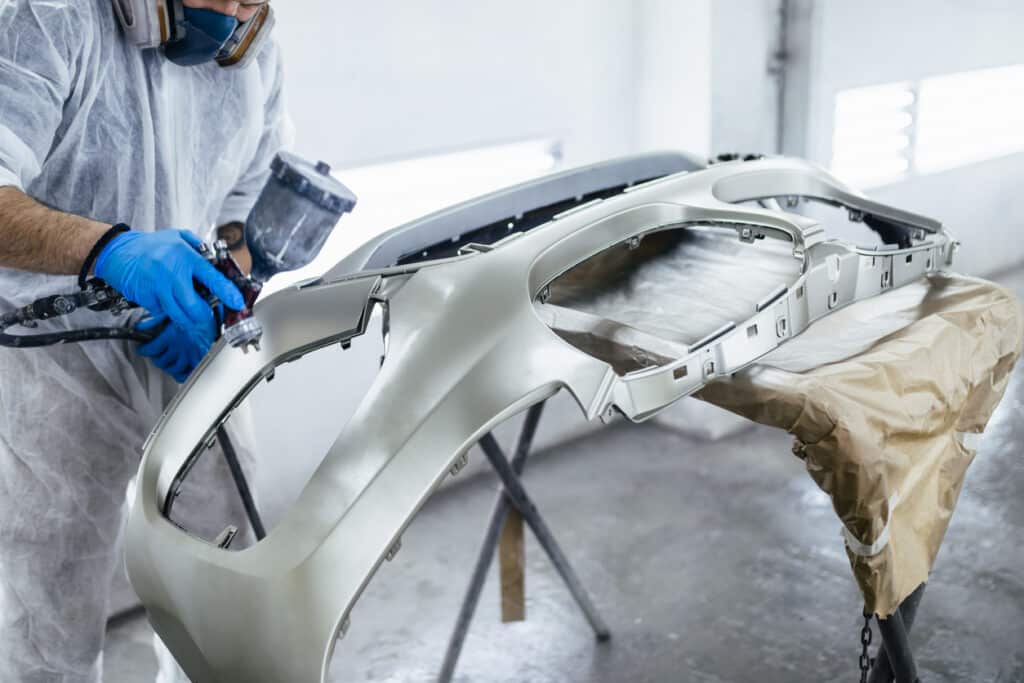
10. Paint the bumper
The final step is to paint the plastic bumper and ensure the finish is as good as new. Our JTAPE Foam Masking Tapes are the best solution for masking off the surrounding panels since these will give a soft-edge finish to ensure the new paintwork blends seamlessly with the old.
Once the adjacent areas are masked off and protected from overspray, begin the painting process by applying an even coat of primer. Allow this to dry completely before spraying a few coats of the base colour, allowing each layer to dry before proceeding. Finish off by applying a few clear coat layers. Once the paint has cured, remove the foam masking tape to reveal the perfect blend and achieve a high-quality finish your customer will be pleased with.
For minor scuffs, scratches and cracks, removing the bumper from the vehicle isn’t necessary. However, for larger areas of damage or suspected defects on the back of the bumper, it might be best to remove the bumper to see exactly what you’re dealing with.
If you do find yourself needing to remove the bumper, lift the car with a jack and locate the pins, latches and screws holding the bumper onto the car. These are typically found in the left and right wheel arches closest to the bumper you want to remove. The screws, pins and latches found in the wheel arches must be removed alongside any other electrical connections or screws holding the bumper in place.
It’s worth noting that if you discover that the crack runs to the end of the bumper, the best practice is to replace it since the structural integrity is likely to be weakened.
On some occasions, bumpers will need to be replaced rather than simply repaired. Ultimately, it’s up to the discretion of the body shop team to make the best decision that benefits the customer and gets the job done as efficiently as possible.
At JTAPE, we have over two decades of experience in automotive masking for repairs and refinishing. To discover more tips and advice from our experts, take a look at our blog.


