How to Replace a Door Skin: Skin Replacement Made Easy with JTAPE
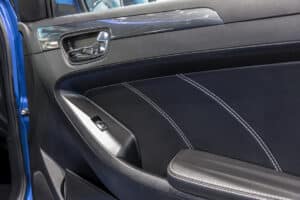
The car door skin is in place to ensure each door remains as soundproof and watertight as possible. But if the door becomes damaged in any way, this can be compromised and require repairs. So what’s the best method to follow for effectively replacing the skin to block out noise and moisture? While the old-fashioned choice would be to weld a new door skin, professionals are now more likely than ever to reach for automotive adhesives to replace this part of the door because it’s the more efficient option and won’t distort the metal of the door itself.
Here, we’ll take you through all the necessary materials you’ll need before providing step-by-step instructions for replacing a car door skin.
JTAPE Products for Door Skin Replacement
At JTAPE, we have some excellent products to help auto professionals offer replacement repairs quickly and easily. Discover the two best products in our range for this use and their features below.
Door Skin Replacement Foam

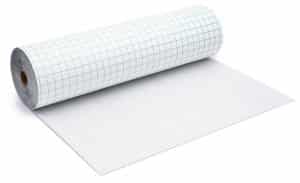
Our Door Skin Replacement Foam provides the perfect, simple solution for replacing the inner door skin membrane. The foam has a grid-printed release liner, making it easy to fit and cut down to size. It also benefits from sound-deadening properties which are excellent for reducing road noise while driving.
Door Skin Replacement Film

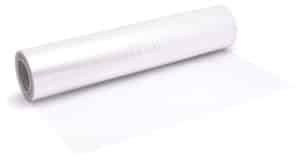
Door Skin Replacement Film is our great quality product intended to keep the door watertight. The clear, 125-micron polythene protective liner can be applied to replace a damaged or missing door membrane without allowing water or moisture to seep into the door cavities. Our film solution is easy to cut and fix into position, making it the best choice for the job.
How to Remove a Car Door Skin Panel
To replace the door skin, it’s necessary to disassemble the panel first. It’s worth mentioning that the method for this might vary depending on the newness of the car’s features, since a car with winding windows will need to have the winder removed, and other mechanical components will need to be safely disconnected. For example, the window winder can usually be removed by taking a small pick and reaching behind for the ring connecting it to the door and prying this apart.
Once all the mechanics have been dealt with, you can take a screwdriver and begin removing each screw holding the panel together. There’s often a screw holding the door handle together and a few dotted around the panel itself. You can also pry off the cover on the edge of the window, along with the door handle cover which also often has screws underneath to remove.
After everything has been unscrewed and removed, it should be easy to pull the door skin panel away from the door. At this stage, you’re now ready to remove any existing foam or film in preparation for replacing it. This can be done by cutting it away and ensuring all adhesives are also removed.

How to Replace a Door Skin
There are two main steps required when replacing a door skin. It’s important to apply the foam before the film to prevent noise and maintain a watertight structure because the film should be laid over the foam section.
Applying the foam
Pull out enough foam material from the dispensing box and lay it on a flat surface ensuring the paper grid side is facing up. It can also help to lay the old door skin film over the top and trace around it if you have it to hand. If you don’t have the old door skin film, place the skin against the door and mark it out whilst on the car door.
Remove the old liner and you should be left with a good guideline for the desired shape. You can then cut the film, being sure to follow the marked-out lines as closely as possible. After the shape is cut out, you can begin fitting it to the car door.
Peel off the release liner to expose the adhesive, position this on the door in the correct position and press firmly into place.
Applying the film
Applying our Door Skin Replacement Film is a simple process. All that’s required is to cut a section to size, fit our Refit Tape around the door, and position the film carefully to seal off the open area of the door.
Our Refit Tape is the best product to use because of the double-sided adhesive and flexibility of the tape, allowing it to bend around the curves and contours of the inner door panel.
With JTAPE, door skin replacement jobs can be quickly and easily completed for your customers with damaged door membranes. For more information on our other cost-effective, time-saving tape and masking solutions, check out our product range.


