Best Products for Installing Spoilers and Side Skirts
So which products do we recommend for securely installing spoilers and side skirt trims? Here are a few of our top suggestions.
Our Grey Double-Sided Acrylic Tape is a reinforced acrylic closed-cell foam tape with a high-tack, high-strength performance adhesive. The closed-cell foam construction makes the tape ideal for both internal and external fixings that will stay in place with excellent resistance to extreme weather and moisture.
The tape offers excellent adhesion to a wide range of substrates including plastics & metals and is ideal for bonding emblems, nameplates, and other external fixings such as spoilers and side skirts.
JTAPE Double-Sided Mounting Tape is a polyethylene foam tape coated on each side with an acrylic-based adhesive, designed to provide a quick, strong bond between different materials. This permanent attachment tape is best suited to securely fixing substrates such as spoilers and mouldings to the exterior surface of a vehicle. It features a high-tack, heavy-duty adhesive with excellent ageing and weather-resistant properties, alongside good resistance to solvents, chemicals, UV and heat.
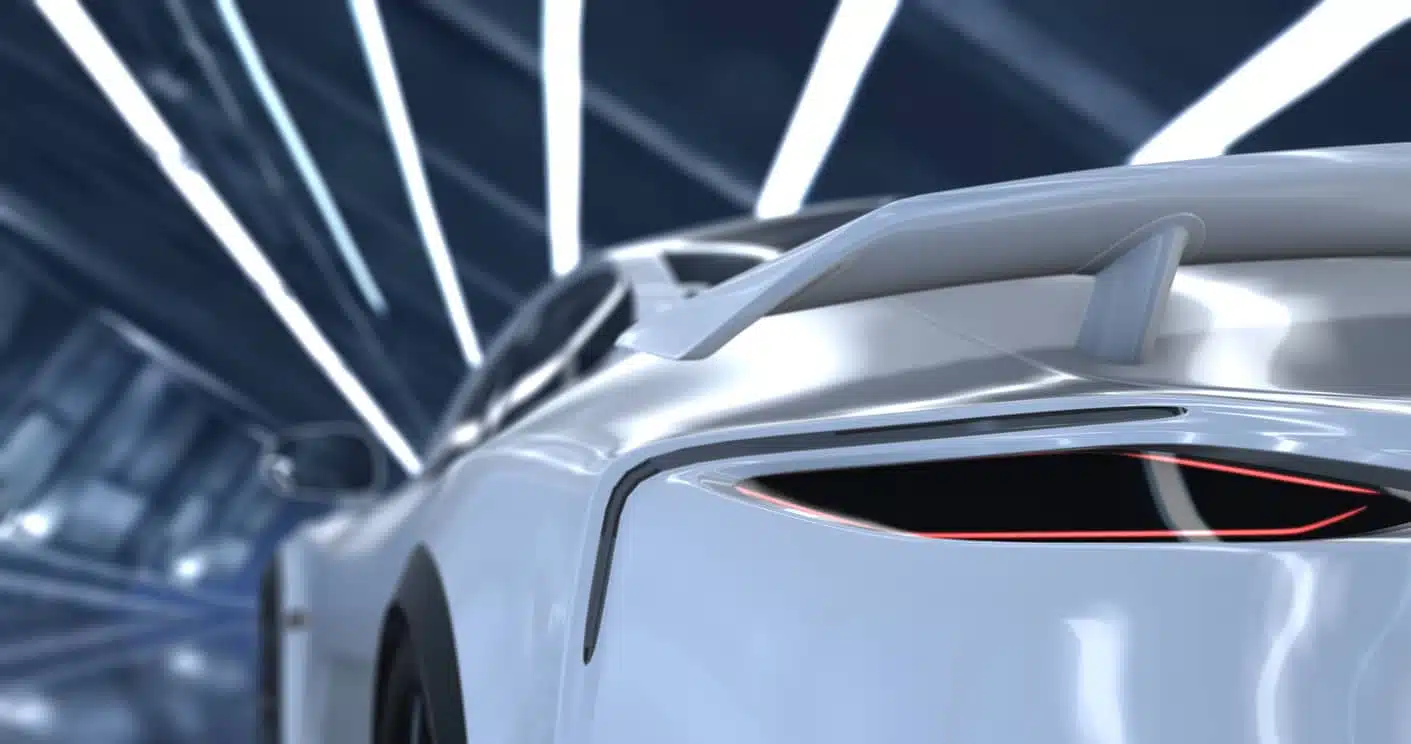
How to attach a spoiler to a car
Attaching a spoiler using automotive mounting tape might sound slightly daunting, but the process is relatively simple in the majority of cases. It’s important to note that the process of mounting a spoiler to a car might vary based on the type of spoiler and the make and model of the vehicle. Regardless of the slight differences, here are our step-by-step instructions for securely mounting spoilers.
Step 1: Clean the vehicle
Firstly, you must ensure that the vehicle’s surface is clean and free from any dirt, debris or grease. Start by washing the surface using good quality exterior car shampoo, warm water and a clean sponge. Then, you’ll need to dry the area and apply a degreaser to remove any stubborn oil or grease. This will make sure that the adhesive can bond to the surface properly.
Step 2: Apply mounting tape to the back of the spoiler
Next, take either the Grey Double Sided Acrylic Tape or Double Sided Mounting Tape and apply it around the entire edge of the flat section of the spoiler that will be attached to the car. You can also add a few strips of automotive tape in the middle of the spoiler for additional adhesion. Once you’re happy that sufficient tape has been applied, press it down firmly either with your fingers or a spreader.
Step 3: Remove the release liner
The next step is to remove the release liner to reveal the double-sided tape. It’s best to do this once you’re happy with the tape placement since touching the adhesive can weaken it.
Step 4: Attach the spoiler to the car
This final step is likely to be the most time-consuming since the goal is to achieve perfect adhesion and positioning. If you’re unsure of where to position the spoiler, it’s best to place it as far back on the bumper as possible so that it lines up with the car’s edges to create a seamless look. However, if your customer has requested that the spoiler be placed further forward, you’ll need to consider this as you apply it. It can be helpful to mark out the ideal placement with tape and a ruler to ensure everything is straight and evenly positioned.
Once you know where the spoiler will sit, you can put it into place. You’ll then need to press the spoiler down to promote adhesion and ensure you achieve a strong bond. Work your way from the edges inwards since the outer corners are typically the most difficult to secure.
How to attach side skirts to car
Attaching side skirts to a car follows a similar process, although they can be slightly trickier because of where they are. Follow the process step-by-step below.
Step 1: Use a jack or blocks to raise the vehicle
Since the side skirt trims are attached underneath the side doors, the first step is to raise the car’s height so that you can safely work underneath it. Ensure the vehicle is fully secured and won’t roll away as you perform the installation.
Step 2: Thoroughly clean the area
It’s important to thoroughly clean the area and remove any dirt, debris or grease to ensure the adhesive can bond properly and create a secure attachment for the side skirts. Take your time with this since this part of the vehicle is typically one of the dirtiest since it picks up mud and debris from the roads.
Step 3: Apply mounting tape to the perimeter of each side skirt
Next, apply either the Grey Double Sided Acrylic Tape or Double Sided Mounting Tape to the entire perimeter of each side skirt, leaving the edge which will be visible free from tape. This will guarantee that you achieve a secure, watertight application. After you’ve finished applying the tape around the outer edge that’ll attach to the underside of the car, press it down firmly either with your fingers or a spreader.
Step 3: Remove the release liner
Now, the release liner can be removed to reveal the double-sided tape ready for bonding to the vehicle. Be sure not to touch the exposed adhesive since this can reduce its effectiveness.
Step 4: Attach each side skirt trim under the side doors.
Finally, position each skirt trim evenly using a ruler to achieve the right measurements. Once you’re happy with the placement, press down firmly on the underside of the skirt to secure it in place.
Will a spoiler stay secure with tape?
The short answer is yes – spoilers can be securely installed with automotive tape. However, the correct products will need to be combined with proper techniques to ensure you achieve a strong bond that won’t budge. By using specialist mounting tape or double-sided automotive adhesives and learning how to use these correctly, you can guarantee that the fixing will remain in place over long periods regardless of exposure to harsh weather or moisture.
How to remove a spoiler that has been installed using tape
If for any reason you need to adjust or remove a spoiler or side skirt that was installed using tape, it’s useful to know how this can be achieved. Due to the nature of the heavy-duty adhesives used for this type of fixing, removal can sometimes be time-consuming. However, it’s possible to slowly loosen the adhesive by lodging floss or a metal or plastic scraper between the spoiler and the vehicle’s exterior.
During this process, it’s important to be careful and take your time to prevent unnecessary paintwork damage. The last thing you’ll want is to chip or peel away the paint underneath and create more work for yourself to fix it.
If you’re modifying a customer’s vehicle by adding spoilers or side skirts, you can refer to this guide to ensure a secure attachment that both you and the customer can rely on.
To discover more of our excellent automotive tapes and adhesives, head to our product page.