Should You Wrap or Paint a Rusty Car?
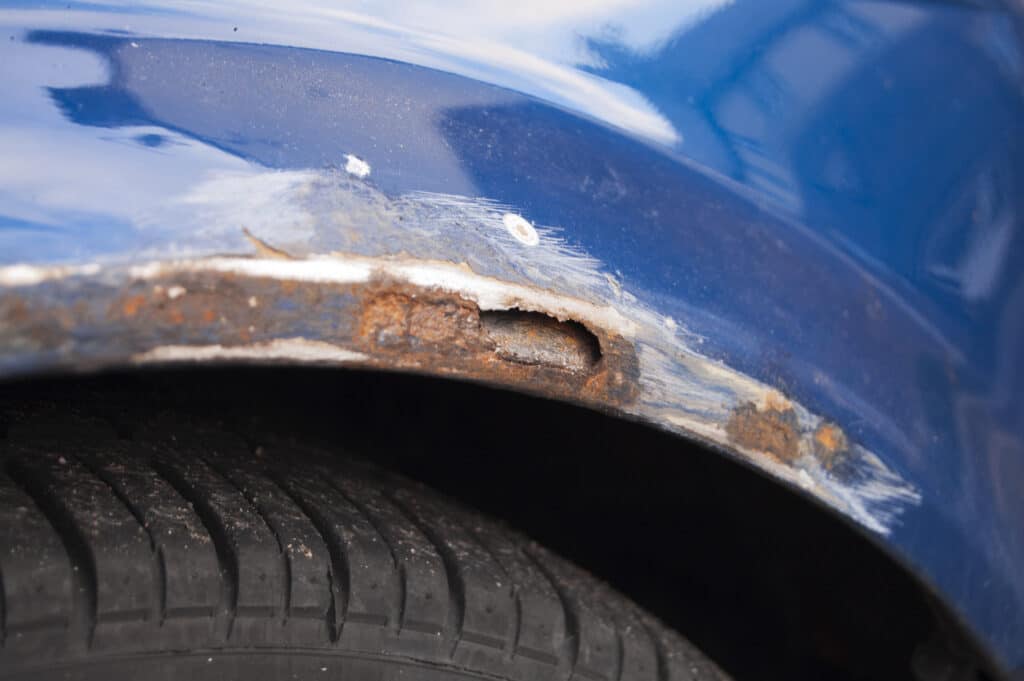
Many cars can succumb to rusting, despite owners taking steps to prevent its onset. Regardless of how well car owners maintain their cars, climate, age, and conditions can all affect the likelihood of developing rust and sustaining irreparable damage to the various components.
When car owners notice their vehicles beginning to rust, the temptation to cover the appearance rather than treat the problem often arises. As bodyshop or auto repair professionals, it’s your job to give the right advice in these situations and help your customers make well-informed decisions.
In this guide, we’ll give you our professional advice about wrapping and painting a rusting car and the best practices to follow.
Wrapping a Rusty Car
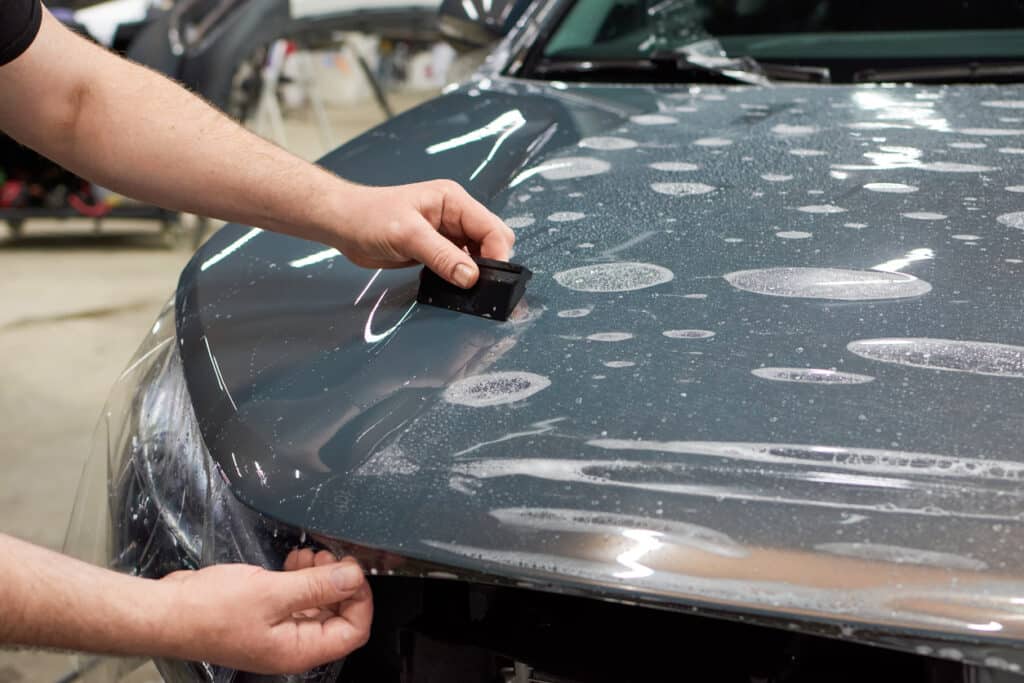
Although a car wrap can seem like a quick one-stop solution to rust, this is generally not recommended for several reasons. The first reason is that moisture can become trapped between the wrap and the surface, which can end up worsening the problem over time. This is because the increased exposure to moisture can cause the rust to spread quicker than it would if it wasn’t covered.
Furthermore, it can often be difficult to get a vinyl wrap to stick to rust since the metal or steel of the car doesn’t provide an even base to support the adhesion.

If a car owner is asking for a vinyl wrap on a vehicle with rust, usually the best thing to do is advise them that the rust must be dealt with first.
Can Car Wrapping Prevent Rust?
In short, a vinyl wrap applied to a car that has no signs of rust could benefit from this process. This is because the adhesive provides a layer of protection against factors such as rain and salt from the roads that can contribute to the development of rust. However, the surface must be in excellent condition to begin with. If there are any signs of rust or damage to the material of the car, it isn’t likely to offer a decent level of protection.
It’s also important to remember that vinyl wrap can’t protect any other surfaces of the car apart from the exterior. The underneath section of the car must be properly maintained and regularly checked for signs of damage and rust to ensure the entire vehicle is kept in tip-top condition.
Painting a Rusty Car
As with wrapping, paint on its own isn’t likely to fix a rusty car. Whilst it’s true that paint is applied to cars because it provides an additional layer of protection over the car’s surface, there are certain situations where this becomes slightly more complicated.
For example, paint shouldn’t just be applied straight onto rust damage because it won’t prevent the damage from worsening under the surface. When chips or scratches reach deep enough into the layers of a car’s surface, the exposed steel or metal can quickly rust.
The properties of some paints mean that they provide rust protection. When used alongside a rust-resistant primer, this can work wonders for keeping rust at bay for longer.

How to Prep & Paint a Rusty Car
Rust preparation is one of the most important steps in car maintenance and shouldn’t be skipped if you want your paint job to look its best once you’re finished.
Below, we’ll guide you through the steps to prepare a rusty car for the perfect paint job.
1. Apply an acid-rust removing fluid
An acid-based rust remover (phosphoric, hydrochloric, or tannic) can be applied to large patches of rust using an old paintbrush. After letting it sit for a few minutes on the rusted area, begin working the product in with wire wool or a small wire brush. The fluid should then be wiped away using a clean cloth or water after leaving it for the recommended time.
Ensure you wear rubber gloves and work in a well-ventilated area while working on this step.
2. Treat smaller rust patches
If the car has a mixture of small and larger rust patches, ensure you follow the first step in larger areas and this step for any smaller spots.
Use a cloth dipped in white spirit to clean the area and remove any debris. You’ll then need to scrape away any loose paint with some dry, coarse sandpaper. Continue to rub the area until you reach a point where all the surrounding point is unaffected by rust.
3. Brush on a rust-resistant primer
Using a small paintbrush, brush your rust-resistant primer onto the affected area, overlapping the unaffected paint by around 6mm all around. This will help protect the surface underneath and ensure your paint has the best chance of protecting the material of the car.
4. Apply bare-metal cellulose stopper
The final step is to build the damaged area up to the same level as the surrounding paint. To do this, apply a thin layer of bare-metal cellulose stopper using a flexible knife. Allow this to dry completely before wet sanding since this will help the original paint bleed into the area.
Then, if a paint job has been decided on, it’s time to mask off your car before painting to ensure you achieve clean lines and a smooth finish. It’s important to use the correct tape for the job at hand when you reach this step, which our blog can help with.
At this point, vinyl wrapping can be also applied instead if requested by the car owner.
Doing the right thing for a car based on its condition is vital – especially when dealing with rust damage. Whatever you choose to do, we hope you strongly consider preparing the car properly before wrapping or painting the surface.
Our tape solutions are perfect for achieving a professional finish in any body shop or auto repair business. Visit our online store to discover the full range of JTAPE products available, or contact us today to find your local distributor.


