How to Mask & Paint a Car Bonnet
The bonnet is arguably one of the first things a customer will notice about their vehicle. However, exposure to harsh weather conditions, sunlight and other pollutants can leave it with a dull and worn appearance that only worsens with time. If customers find that the paint on their bonnet is looking tired, they must be able to rely on professionals to transform it back to its original state with a respray. Here, we’ll be giving you our top masking product recommendations to get the job done with precision and accuracy, as well as the best techniques for achieving a high-quality finish.
Masking Products for Masking Car Bonnets
Which masking products are best to use on and around the car bonnet? From tapes to films, discover our top picks below that are guaranteed to make your job easier.
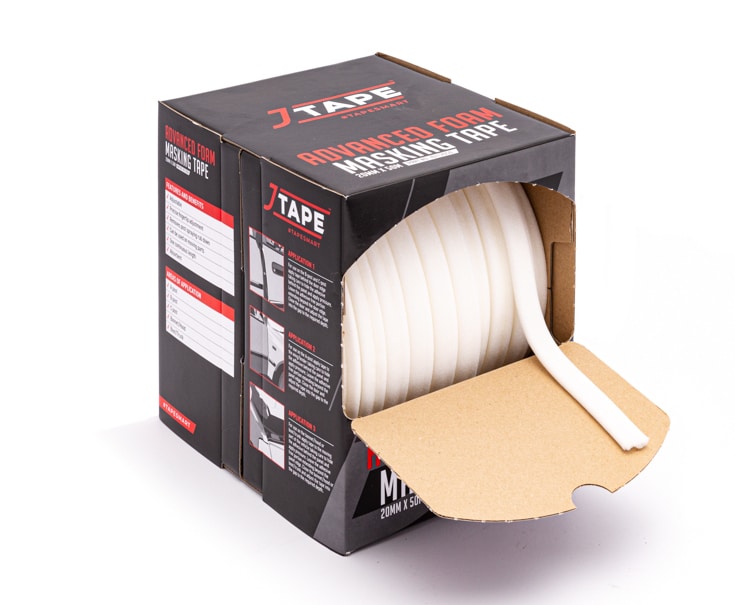
Advanced Foam Masking Tape

JTAPE Advanced Foam Masking Tape is ideal for masking off apertures, making it perfect for this task. The offset adhesive means it can be easily applied to the moving part of the underside of the bonnet and pushed back into the gap once the aperture has been closed to protect it from overspray. It also features a flexible foam which allows for simple and easy application, even in the tight corners where the bonnet meets the A-Post.
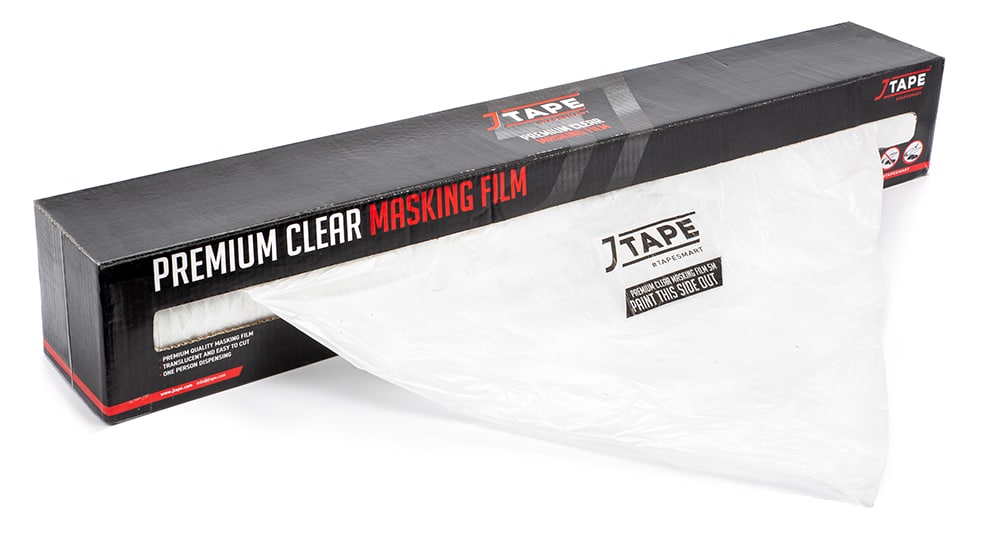
Premium Clear Masking Film

Our Premium Clear Masking Film can easily mask off large areas of a vehicle that aren’t being painted. The Corona-treated surface prevents paint contamination by holding mist and overspray, meaning that you won’t need to spend any time removing paint that has accidentally been applied to the windscreen or headlights.
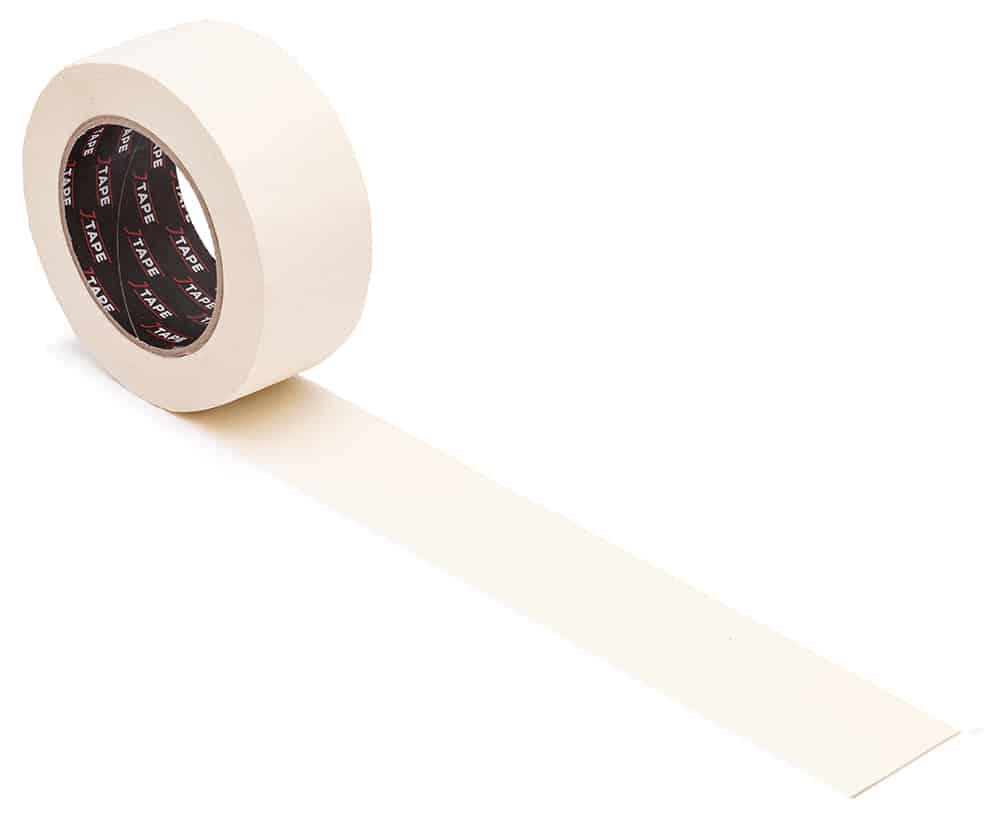
80°C Premium Masking Tape

JTAPE 80°C Premium Masking Tape is an easy application crepe tape ideal for use with our other JTAPE automotive tapes and films. It offers excellent heat protection and prevents overspray, making it perfect for painting a car bonnet with the accuracy and precision needed.
How to Mask a Car Bonnet
Masking off a car bonnet correctly is the best way to protect adjacent panels, windows and fixtures from overspray. So in this section, we’ll guide you through the tips and tricks for using our JTAPE masking products for this purpose.
Apply masking tape to the gaps in the bonnet
Lift up the bonnet and apply our Advanced Foam Masking Tape to the moving part on the underside of the bonnet. This will leave you with a clean painted edge and – most importantly – it will protect the engine bay from unnecessary damage. When applying the tape, be careful not to stretch it since this could compromise the effectiveness of the adhesive. We also recommend pressing down on the tape lightly to secure it in place as it’s being applied.
Cover adjacent panels and other areas not being painted
Using our Premium Clear Masking Film and the easy dispensing box, roll out the film over the front of the vehicle. The statically charged material will automatically stick to the vehicle’s surface, making it easy to hold in place. You can then use a knife or razor to cut away the film covering the bonnet. Once you’re happy, apply the 80°C Premium Masking Tape to secure it in place, ensuring the entire bonnet remains exposed.

How to Paint a Car Bonnet
Follow the steps below to learn the best technique for painting a car bonnet and achieving the perfect finish.
1. Clean the bonnet
Starting off with a clean and dry surface is an essential step for achieving a high-quality paint finish regardless of which areas of a car you’re planning to work on. Apply specialist car shampoo mixed with water to the area using a clean sponge to remove any dirt or debris that could adversely affect the paint job.
2. Mask off the bonnet
Using the methods mentioned above, mask off the areas of the bonnet that you don’t want to paint. Don’t forget to cover the windscreen, headlights and bumper with film and apply our Advanced Foam Masking Tape to any gaps to protect against overspray. This tape should be applied to the moving part of the underside of the bonnet using the offset adhesive. Once the bonnet lid has been closed, the foam tape can then be adjusted back to cover the gap during the preparation and painting process.
3. Prepare the surface
Correct preparation is the difference between a good paint job and an excellent one. Start by sanding the entire surface of the bonnet with low-grit sandpaper. This will remove a few layers of the damaged paint and create a good base ready for the new paint application.
After sanding the surface of the bonnet, it’s important to apply a good primer to guarantee that the new paint can stick evenly. We recommend applying your primer in upward motions, making your way from the right to the left and vice versa. This will ensure you achieve the best coverage and that no spots are missed.
4. Start painting
Begin painting the bonnet starting from the edge closest to the windshield and working your way down to the bumper in straight downward motions, working from either the left or right. Once the entire bonnet is covered and you’ve allowed adequate time for the first coat of paint to dry, begin the process again, this time starting from the bumper and using an upward motion. Continue this process until you’re happy with the coverage, or until you’ve applied four or five coats of paint.
After allowing the base coat to dry, be sure to adjust the Advanced Foam Masking Tape back into the gap to avoid paint build-up on the foam. Missing this step could allow for contamination which can lead to a harsh paint edge.
Finish off by spraying a few coats of clear paint to seal everything, making sure to allow each coat ample time to dry in between. Once the clear layer is dry, the final step is to remove your masking film and tape.
Next time you’re tasked with masking and painting a car bonnet, refer to this guide to help you nail each step.
At JTAPE, we’re proud to offer a wide range of adhesive solutions designed to help automotive professionals achieve the best finish with each job. To discover our full range, check out our product page.


