

Why is surface preparation different when painting trucks vs other cars?
The most immediate difference lies in the sheer scale of the vehicle. With the large panels of a truck, such as the hood, cab roof, and bedside, there is simply more room for issues like masking flaws and adhesion problems to manifest. What might be a minor imperfection on a coupe door can become a glaring error when magnified across the broad, flat surface of a truck panel.
Additionally, a truck incorporates unique body sections not found on standard passenger vehicles, most notably the truck bed. These areas, which see heavy-duty use, have specific contours, corners, and potential damage that require specialized attention during prep.
Before even starting the cleaning or sanding process, a thorough surface evaluation is non-negotiable. Technicians must inspect the entire surface several times, marking and assessing every imperfection, dent, or mark that will need correction.
This upfront due diligence is critical, as the time spent ensuring the surface is flawless before the first coat of primer is applied will directly impact the quality and longevity of the final paint job. It’s an investment in time that should never be rushed, since cutting corners on prep guarantees costly rework and reduced shop throughput later.
How to prepare a truck for painting
Proper preparation is a multi-step process that demands patience, precision, and the right materials, especially when dealing with large truck panels.
The process always begins with a comprehensive cleaning regimen. Truck bodies, particularly in high-use areas like the rocker panels and wheel arches, accumulate more road grime and contaminants than the average car. A powerful degreaser and surface prep solvent must be used to strip away all wax, grease, and silicone. This often requires a dedicated three-stage cleaning process. On large panels, ensure you are working in manageable sections to prevent the cleaning solution from drying out and leaving residue before it can be wiped clean.
Next is sanding. Given the size of the panels, a systematic approach is vital to maintain consistency. Technicians must work in an organized pattern, ensuring every square inch of the old finish or existing primer is appropriately scuffed to provide proper tooth for the new paint. Rushing this step on a large panel can lead to severe adhesion issues and flaking paint later on.
Following sanding, any identified dents or imperfections are addressed with the appropriate filling compounds, which are then block-sanded to the correct shape.
Finally, the choice of automotive paint is critical for a durable, professional finish. Whether you opt for a traditional lacquer or a modern urethane system, the paint must be suitable for the vehicle type and the demands it will face.
How to mask a truck: Recommended tapes & techniques
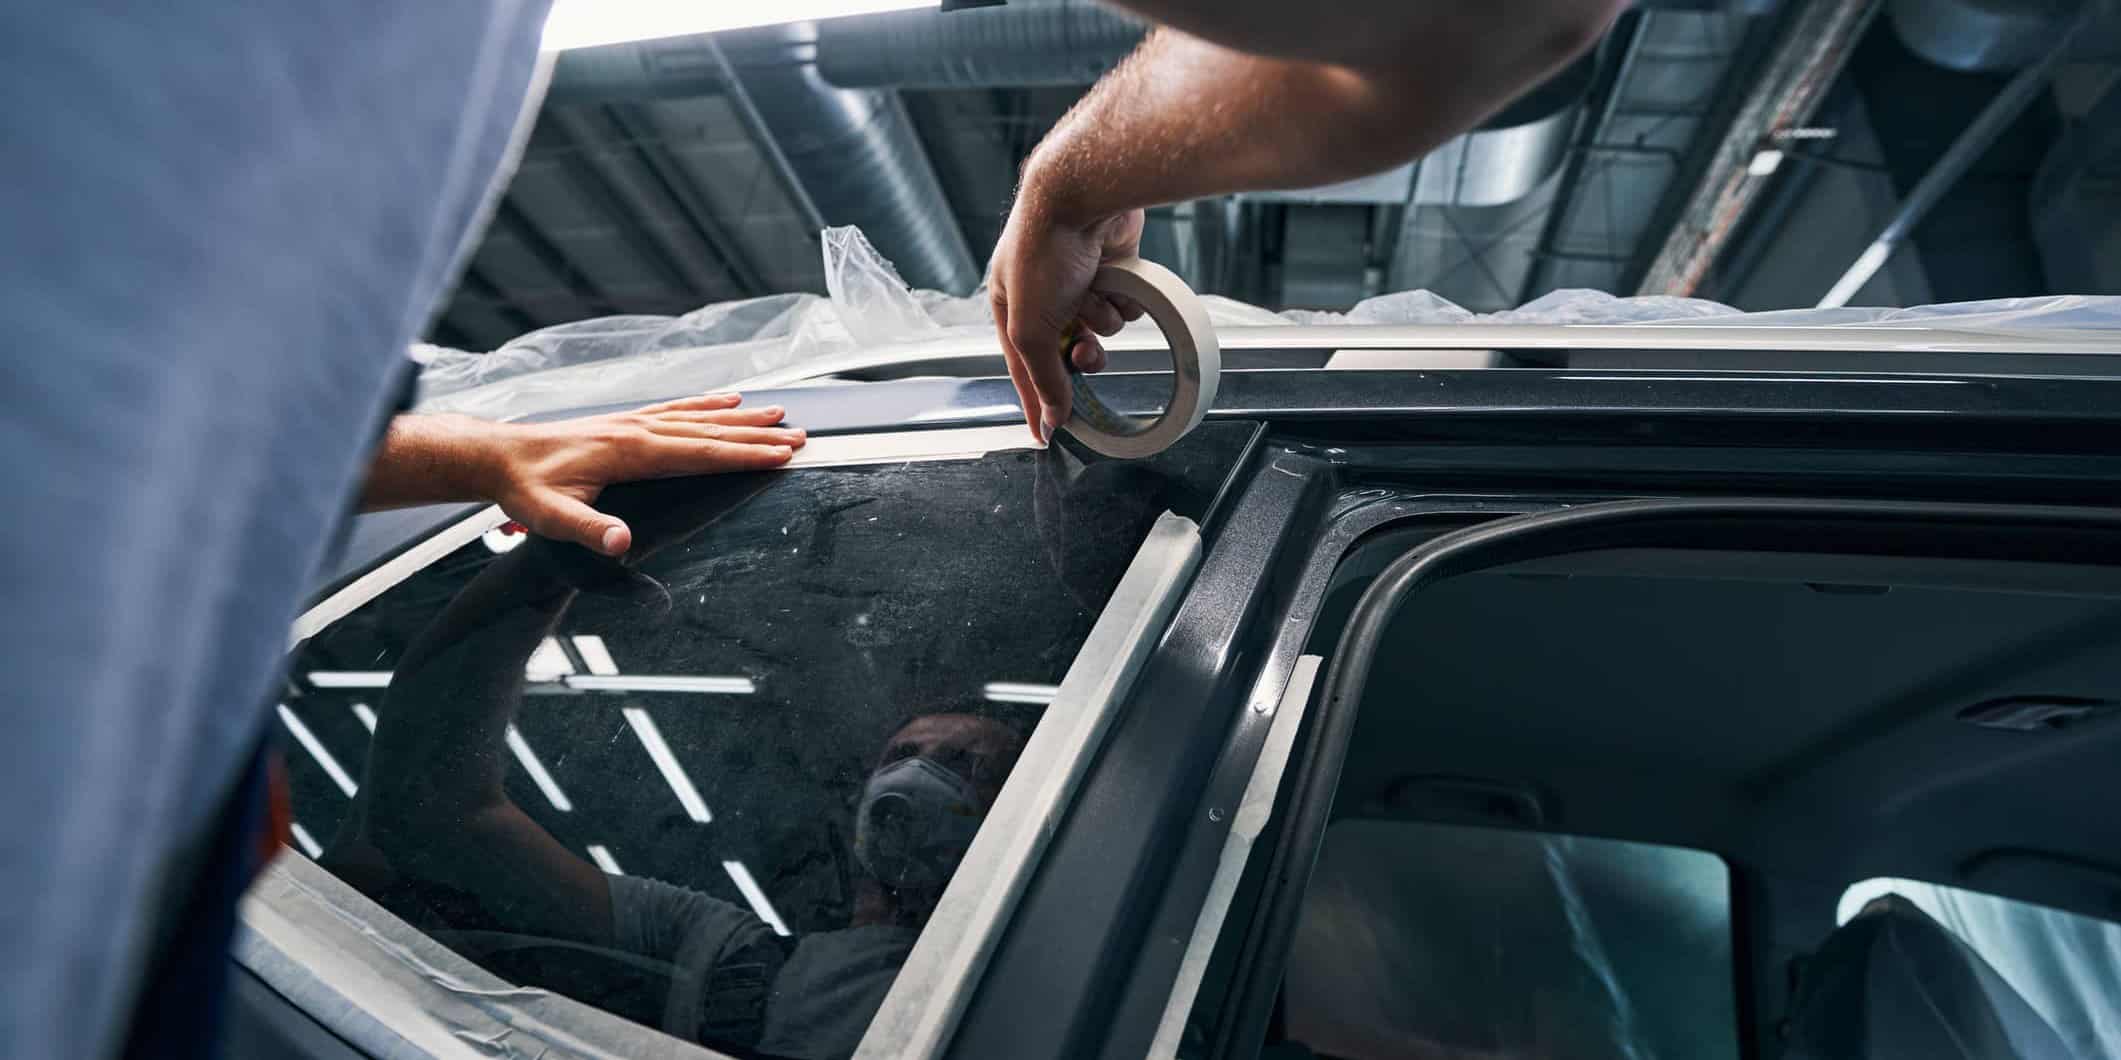
Masking a truck requires a different mindset than masking a smaller car, primarily because of the distinct geometry and the larger, non-standard components, like the truck bed. You need to meticulously mask off every area not intended for paint, paying close attention to the unique features of a pickup.
Front
The front section encompasses the hood, fenders, grille, and the front bumper. The size of the hood demands extra care when applying sheeting to cover large areas and prevent overspray. When working around the bumper, especially if it is a plastic component, remember that proper adhesion to plastic requires specialized knowledge and materials. Reviewing best practices for painting plastic car parts will help you ensure a flawless finish.
Middle
The middle section includes the doors, the cab, and the lower rocker panels. Doors are similar to those on a sedan or SUV, but often larger and heavier. Standard masking techniques apply, such as proper edge masking to avoid paint ridges. The main cabin, including the roof, also requires careful, seamless sheet masking to cover the large surface area completely.
Back
The back of the truck is where the most unique masking challenges lie. This includes the rear quarter panels, tailgate, and the entire truck bed. Masking the truck bed floor is particularly challenging. Techniques like reverse masking or back-masking (where you fold the tape edge back on itself) are often necessary to create a clean, crisp edge and prevent paint from bleeding into the truck bed when only the exterior is being painted. The tailgate requires careful attention to internal seals and hinges to prevent paint from reaching the inner mechanisms.
Achieving a high-quality finish on vehicles of any size, especially on large-scale projects like a full-size truck, relies on using professional-grade materials at every stage.
Professionals should explore JTAPE’s comprehensive range of automotive masking tapes, which are engineered to help you achieve the clean lines and precision you demand on all your vehicle prep.

