Efficiency is key in this industry, and the last thing you need is to be redoing jobs because of inferior masking techniques or incorrect automotive tape choices for certain jobs. Not only can this quickly drain your profits, but it can also leave your customers dissatisfied enough to stray towards your competition instead.
Achieving quality paint and repairs jobs hinges on your ability to mask off any and all parts of a vehicle correctly. Therefore, we’re showing you all the main techniques for the most commonly requested automotive work, from back masking to pinstriping.
Masking Tape Techniques
There are multiple useful masking techniques that everyone in the collision repair and refinishing industry should master.
Click the links below to be taken straight to the specific techniques, otherwise, you can read on for our full in-depth guide to the need-to-know auto masking methods.
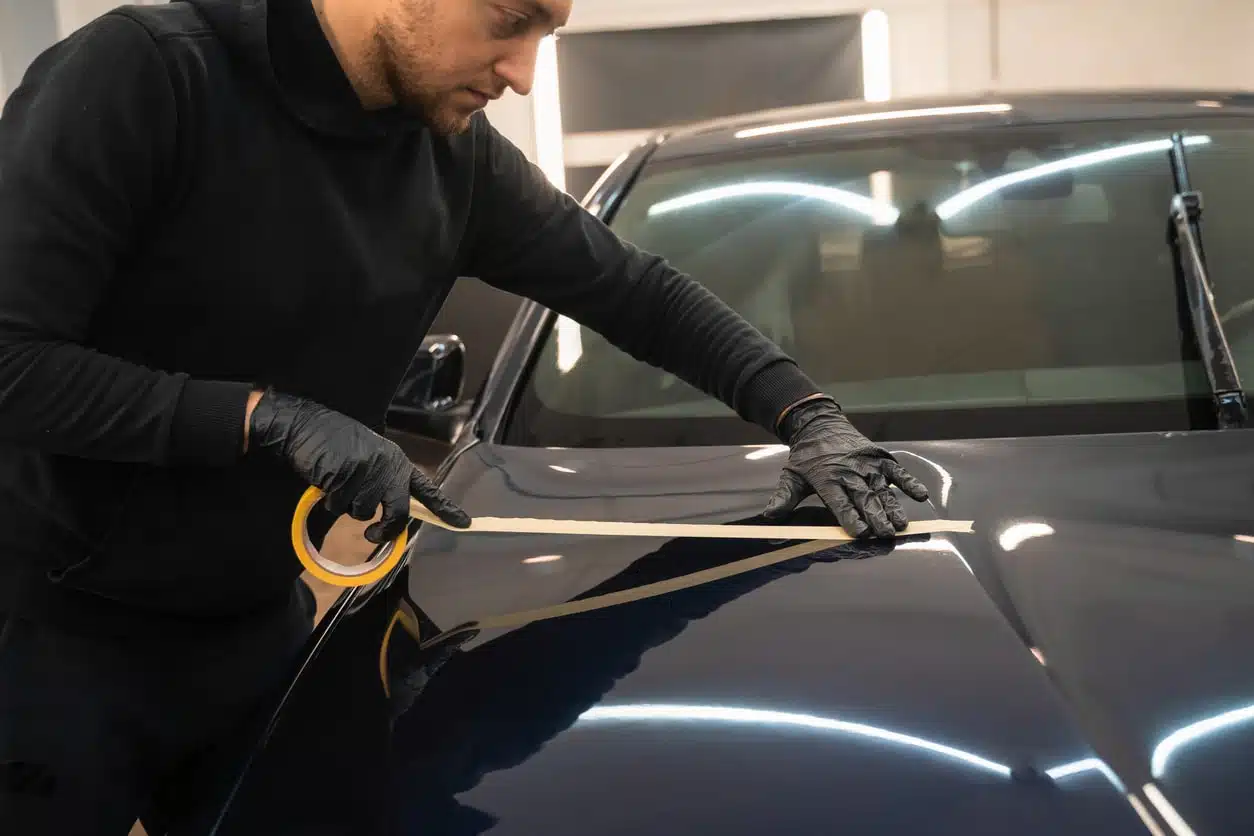
Back Masking (Reverse Masking)
Sometimes referred to as reverse masking, this technique is used to eliminate harsh lines when priming an area for repair or painting. By folding the tape over, the painted panel is left with more of a tapered finish. This is often the top technique choice when carrying out smart or spot repairs because it blends the area with the existing finish.
The best JTAPE product to use instead of needing to reverse mask, making the job even easier, is our No Edge Blending Tape because this won’t leave you with harsh lines when masking around repairs. This eliminates the need for folded tape and gives a feathered edge. Simply apply it around the area you’re working on by peeling the film away from the adhesive and sticking this to the edges of the panel or section of the vehicle. The tape is paint absorbent and can be removed while the clear coat is wet to give the desired finish.
Pinstriping
Customers looking to add a creative flair to their vehicle might ask for pinstriping or customised design work. The process involves the application of very fine line paint either in straight lines or curved designs.
For this technique, our Customising Tape and Striping Tape are the perfect tape choices. Firstly, our Customising Tape allows users to strip out the eight 1.5mm sections and create masking curves that match exactly what the customer wants. The tape is highly flexible and can be reapplied as many times as needed to get the desired curves and lines before painting.
Meanwhile, our Striping Tape is best for pinstriping along straight lines with excellent precision. This tape also comes with eight 1.5mm pre-cut lines to help save you time for this purpose. Heat resistance is combined with a rigid construction tape to make it suitable for many different industries, with automotive being the main one.
To learn more, check out our blog on pinstriping a car the easy way.
Blending
Blending is a technique that allows automotive professionals to achieve the perfect soft edge. And while you might think that all tapes will give a defined line edge, this isn’t the case. Plenty of repair and paintwork jobs will require a softer finish, such as spot repairs or when blending up to swage lines.
To create the perfect blended paint edges, we recommend using our Flexi No Edge Blending Tape. This offers a smart solution that can be applied quickly and accurately even around curves and corners, helping you perfect any blending of swage lines or panel edges. The foam tape will leave you with a feathered finish and eliminates the need for rework, saving you time and money on jobs.
Liquid Masking
Even though tapes and films are commonly used in repair shops today, it’s important to acknowledge that some might still use this technique.
During this process, a sticky, thick liquid is applied to protect the panel from overspray rather than using tape or masking films. This liquid acts as a type of film that sets and can be peeled off at the end of the process. To apply it, a roller or spray gun can be used which can be directed around the entire panel or vehicle. The panels you intend to work on can then be cleared of the liquid, which leaves the rest of the area protected from overspray or damage from things like sanding tools.
Masking Removal/Remasking
Masking removal – or remasking – is just as important of a technique to learn as the application.
If you’re using high quality automotive products, leftover stubborn adhesive residue shouldn’t be an issue. Getting the perfect edge is also important, so knowing which stage of the repair or paint job is best to remove your tape is necessary knowledge to have. The method can also depend on the tape used.
For example, our Advanced Foam Masking Tape should be stretched to remove and gives the best finish when removed after the baking process. Meanwhile, our Black Premium Cloth Protection Tape simply needs to be peeled away from the panel to remove, but this can also be removed at the end of the repair or paint job.
It’s always important to check the packaging of any automotive tapes used in your workshop for any specific instructions on the removal process.
We hope this overview of the need-to-know masking techniques comes in useful for boosting your auto masking knowledge. Whether you’re pinstriping or creating blended edges, there’s a best practice method to learn. Visit our online store to discover the full range of JTAPE products available, or contact us to find your local distributor.