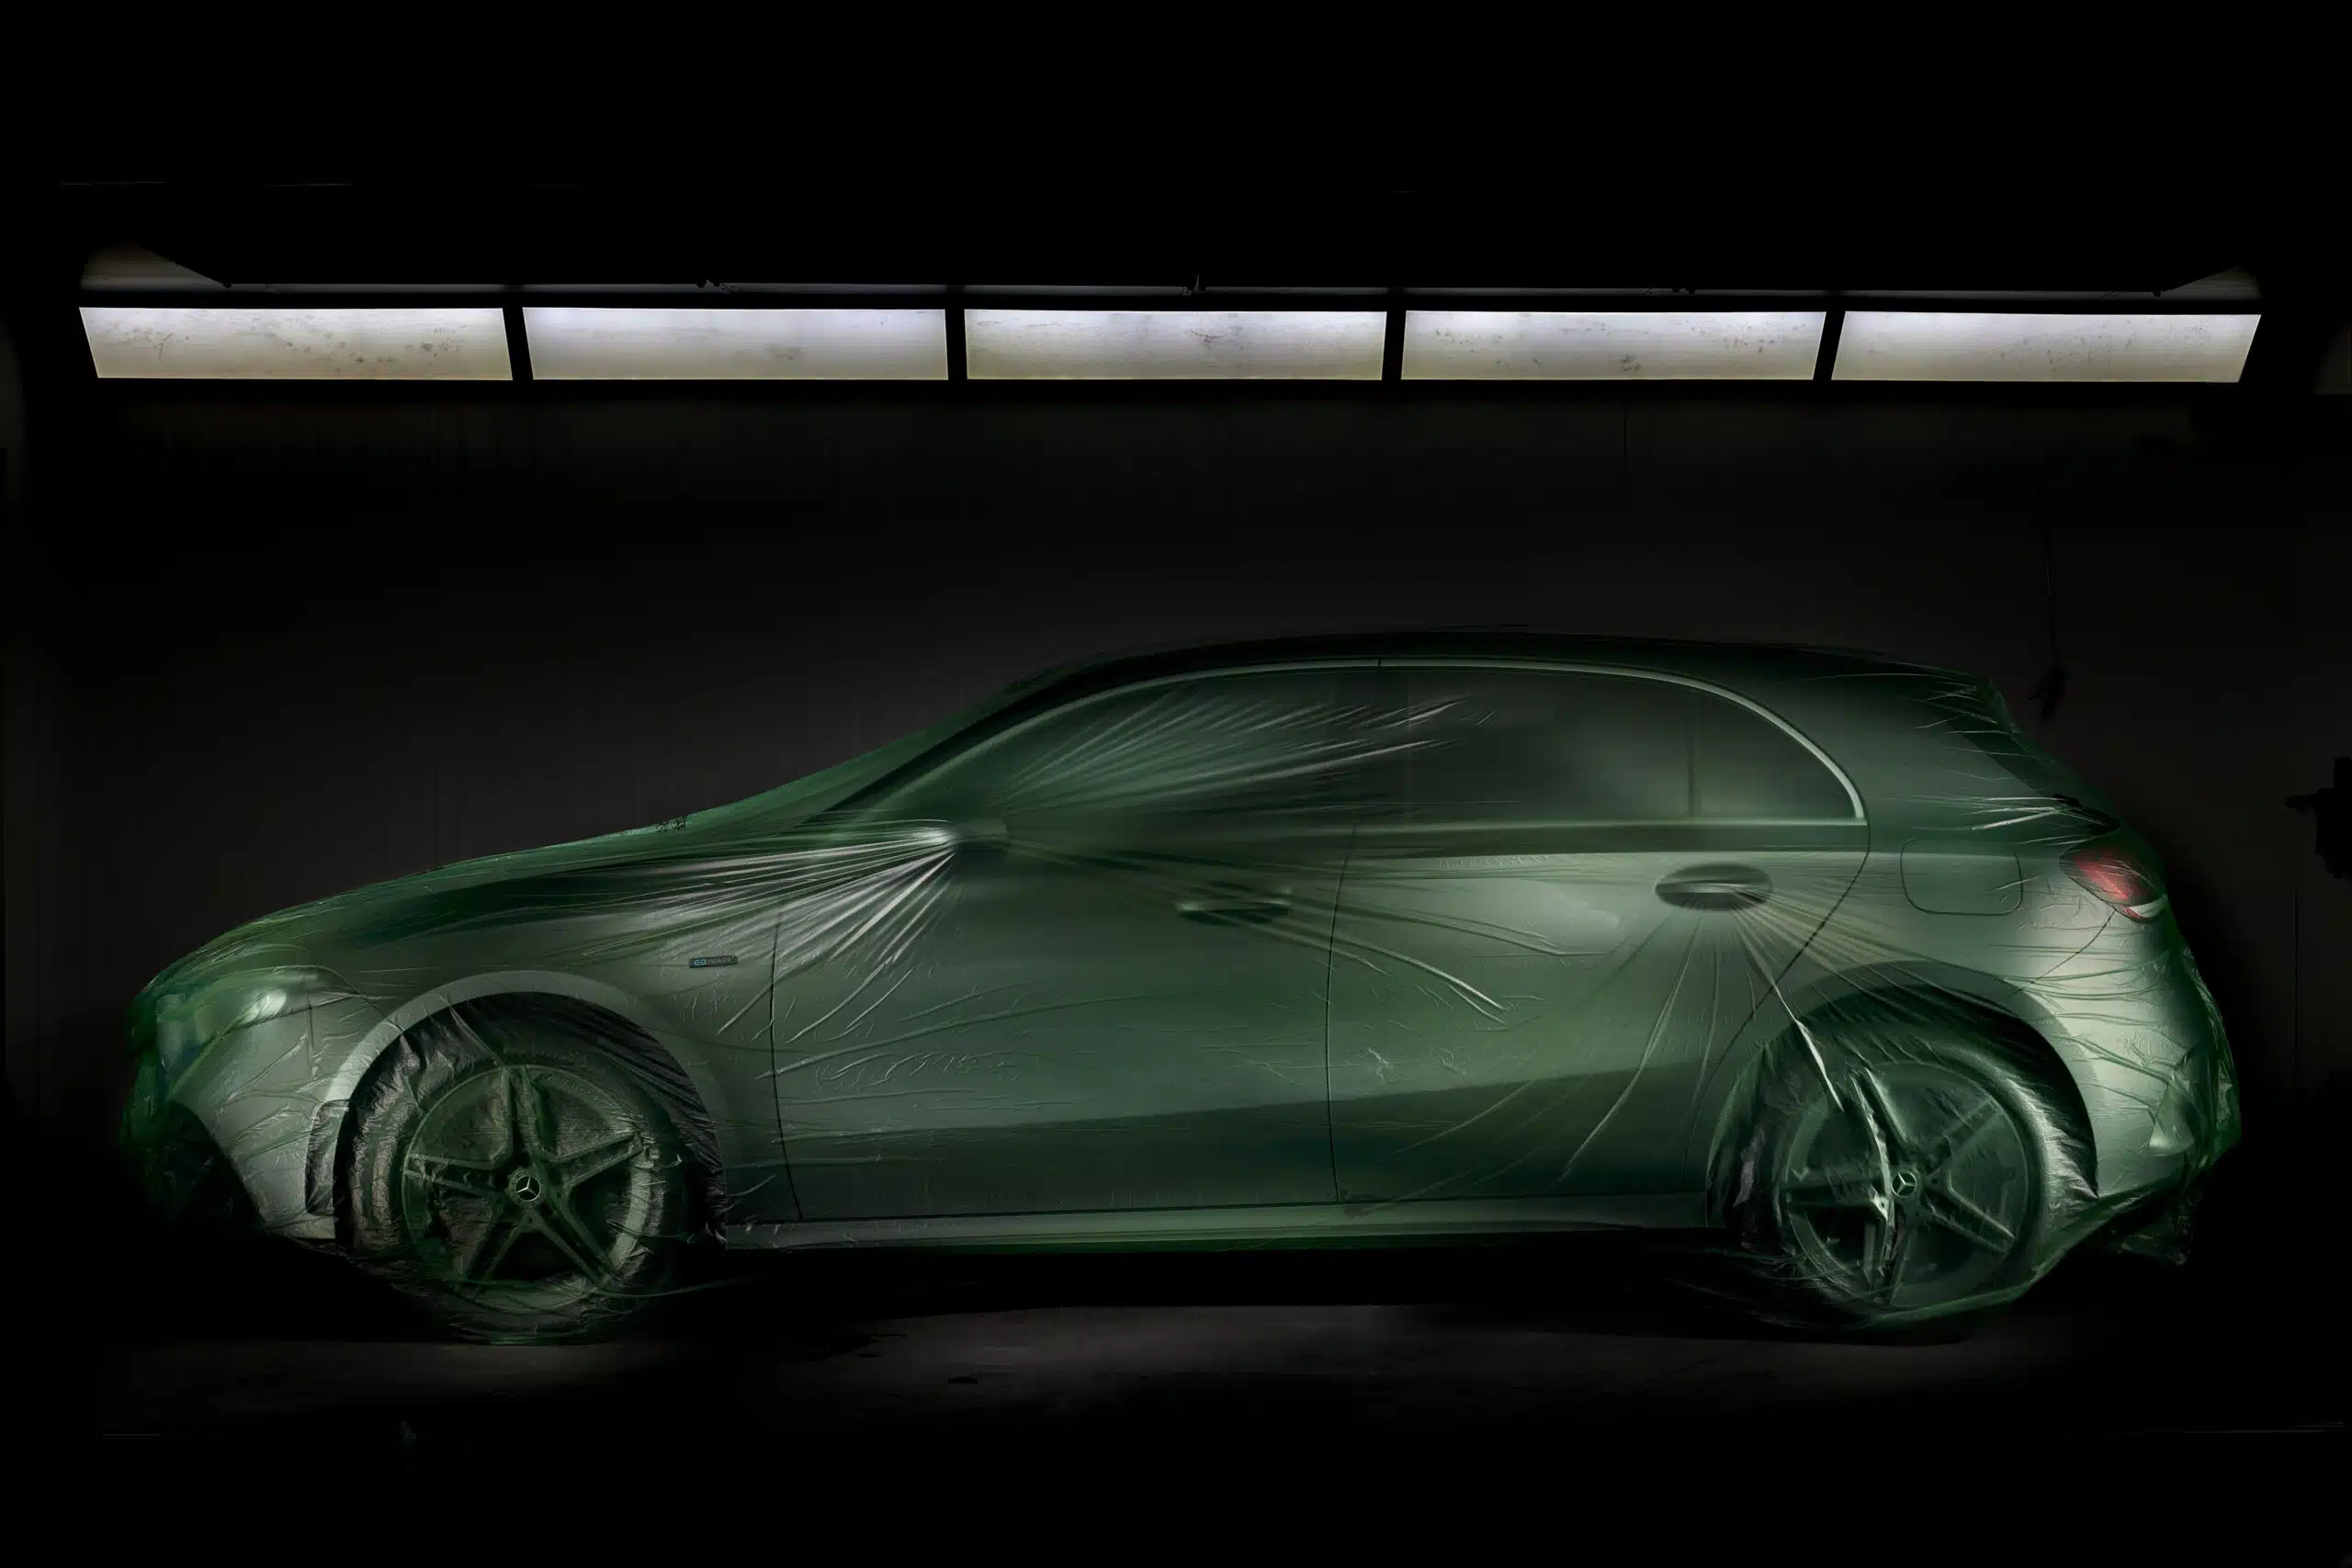
Working in the auto repair or body shop industry, it’s highly likely that you’ll be asked many times to mask off a car body in preparation for painting. While this can be a long and arduous process, it’s also very important to get it right and ensure you’re fully protecting any car surfaces not being painted.
Here, we’ll offer our top tips for masking off a car body for painting to ensure you can achieve a professional, high-quality finish.
Masking a car for painting means cleaning and decontaminating the surface, taping the edges of every panel next to the area being painted, covering the larger areas with masking film, sealing and checking your work, then removing the masking correctly once the paint is tack-free.
Done properly, it gives you clean paint lines, keeps overspray off the surfaces you want to protect, and avoids damaging the existing paint finish. Get it wrong and you invite bleed, build up and hours of correction. Get it wrong and you invite paint bleed, build up and hours of re-work, as well as wasted materials.
This guide walks through the full process a panel at a time, and points you to the right product for each job along the way. As an automotive masking manufacturer since 2003, supplying more than 60 countries, JTAPE manufactures and distributes a world leading range of masking solutions(or maybe ‘masking solutions’)
What you’ll need to mask a car
Before you start, get everything to hand so you are not hunting for a blade or a fresh roll halfway through. A proper masking job calls for the following:
Automotive masking tape, not household tape. This is the single most important choice, and we explain why further down. Use a goodpremium automotive masking tape for general panel edges.
Fine line tape for curves or straights, detail and crisp colour separation, such as around a fuel filler or on a two-tone line. Ourfine line masking tapes are built for this, where intricacy and accuracy are of the utmost importance. Customisation jobs such as pinstriping are a great example of where these tapes can be the difference between a good and a great job.
Foam masking tape for door jambs, bonnets, boots and other vehicle apertures, where a soft edge matters. These also prevent overspray and create a nice, soft, high quality paint finish. See ourfoam masking tapes.
Masking film or sheeting for covering areas that are not part of the re-spraying process such as the roof, wheels, glass and sunroof. JTAPE masking films are corona treated for tear and temperature resistance.
Wax and grease remover, plus lint-free cloths, for proper surface prep.
Exterior shampoo and warm water for the initial wash.
The correct respirator and personal protection for the paint you are using.
It is worth saying up front why automotive-grade tape matters. General‑purpose masking tape uses an adhesive that can leave residue, lift the paint, or allow bleed‑through, whereas automotive‑grade tape is engineered to resist solvents, heat, and paint load to ensure a perfect paint finish every time.
How to mask a car for painting (step by step)
Masking off a full car can look like a lot of work, but with the right products and a methodical approach you can move through it steadily and get straight on with the painting process. Work a section at a time and check each piece as you go.
1. Clean the car thoroughly
Start by cleaning the whole car, because any dust, grease or wax left on the surface can prevent the tape adhering properly, potentially leading paint to bleed or peel later. This step is not optional, and skipping it undoes everything that follows.
Use an exterior shampoo and warm water to wash away dirt and debris, paying particular attention to the corners and crevices. Areas like the door handles and jambs harbour a lot of contaminants, so pay particular attention to these parts of the vehicle. Dry the car fully with a clean cloth.
Once dry, go over the panels with a wax and grease remover on a lint-free cloth. This lifts the polish, silicone and grease that a wash alone leaves behind, and it is the difference between tape that holds a clean line and tape that resists edge lift. Contamination is the most common cause of poor adhesion and bleed, so treat this as the foundation of the whole job.
2. Prepare and Define the Working Area
Masking is an area-specific process. You choose the correct tape for the panel, aperture, or feature you are working on, then add masking film to the areas not being painted where overspray protection is needed. Using the right tape first time keeps the job clean, efficient, and professional.
Begin by cleaning and degreasing the panel so every tape bonds correctly. Use a premium masking tape to define the repair boundary, pressing firmly along the edge to create a reliable seal that prevents paint creep. Loose edges are where bleed starts, so run a fingertip or a plastic tool along the tape once it is in place.
For blends and fade-outs, apply blending tape along the panel edge or the natural contours of the body. This creates a seamless finish and is ideal if you are looking to do a small area or “spot repair”, rather than an entire panel.
Its engineered profile produces a soft, controlled feathered edge without the time and material that back-taping demands, making it ideal for straight edges, swage lines, wheel arches, and filler cap recesses.
Where a soft, feathered edge is needed around vehicle apertures, a foam masking tape is the better choice, and we cover this in the next step.
3. Choose Tape to Match Specific Areas
Certain parts of the vehicle call for tapes designed specifically for their shape, their function, or the level of precision needed. In many cases you would use several. For example, you would likely use masking tape, but also a fine line tape for specific edges.
Door jambs and panel gaps
Foam masking tape fills the gap between panels and rolls a soft paint edge, exactly what you want where two panels meet. It prevents hard lines and stops overspray entering the aperture or the vehicle itself.
Cant rails and door rubbers
A 2:1 application tape such as DUO Masking Tape helps create a void when spraying cant rails, eliminating the need to mask door rubbers down, and ensuring consistent paint coverage, lifting them slightly away from the body for consistent paint coverage.
Door and window seals and windscreens
Perforated trim tape tucks behind trims to ease them gently away from the panel, giving the paint access to tricky areas and producing a consistent edge. Its perforated edge tears neatly, so it follows complex shapes and curves with ease.
Swage lines, wheel arches, and filler caps
These natural body features benefit from blending tapes, which soften transitions and help achieve a seamless paint finish along the vehicle’s contours. There are two solutions here, our No Edge Blending Tape which is ideal for Straight style lines, or our Flexi No Edge Blending Tape, more suited for curves such as wheel arches or filler caps.
Plastic parts and contrasting surfaces
Fine line tape delivers precision separation on plastics, textured areas, and contrasting surfaces. Its flexibility and adhesion give crisp, accurate lines on straights or curves without lifting.
4. Apply Masking Film and Seal with Tape
With the edges taped, cover the surrounding areas you want to keep paint-free and protected, such as adjacent panels, the roof, glass, or wheels, using masking film. Pull the film smoothly across the area and align it precisely to the tape edge you have already applied.
Trim the film to size with a sharp blade or the JTAPE Premium Masking Film Cutter, which gives a clean, controlled cut without dragging or tearing the film.
Once the film is positioned, take a premium masking tape and run a second layer over the join. This seals the film to the first tape edge so it cannot move or lift while you are spraying. Overspray will find even the smallest gap, so press down the entire length of the join and check the film is fully anchored.
Masking film is designed to cling to the surface and provide complete overspray protection, which makes it the most efficient way to cover surrounding areas during refinishing.
With the edges taped, cover the surrounding areas you want to keep paint-free, such as adjacent panels, the roof, glass, or wheels, using masking film. Pull the film smoothly across the area and align it precisely to the tape edge you have already applied.
Trim the film to size with a sharp blade or the JTAPE Premium Masking Film Cutter, which gives a clean, controlled cut without dragging or tearing the film.
Once the film is positioned, take a premium masking tape and run a second layer over the join. This seals the film to the first tape edge so it cannot move or lift while you are spraying. Overspray will find even the smallest gap, so press down the entire length of the join and check the film is fully anchored.
Masking film is designed to cling to the surface and provide complete overspray protection, which makes it the most efficient way to cover surrounding areas during refinishing.
5. Carry out a pre-paint check
Before you pick up the spray gun, walk around the whole car and inspect every masked section. Look for loose tape, unprotected areas or film that isn’t fully anchored, and gently press down the tape edges to make sure they are sealed.
It is always worth checking over the vehicle a couple of times. A few minutes here saves the headache of overspray or paint exposure caused by a gap you did not spot, and it is far easier, cheaper and more productive to fix a lifted edge now, than to correct paintwork later.
6. De-mask the vehicle correctly
Once the paint has dried to the manufacturer’s recommended stage, usually when it is tack-free but not fully cured, you can start removing the tape. Timing matters here. Take the tape off too early and the paint can bleed, take it off too late once it has fully hardened and the paint can crack and peel along the line.
Peel the tape back slowly and gently at a 45-degree angle to avoid lifting any fresh paint. Some specialist masking products have their own removal guidance, so check these before you begin, particularly foam tapes and films with lifting tabs.
Which masking tape or film to use and where
If you take one thing from this guide, let it be that the right product for each area does most of the work for you.
The table below maps the common masking tasks to the JTAPE range built for them, with a note on why each one suits the job. Temperature resistance, clean removal and conformability are the qualities that matter, and they are what separate automotive tapes from general purpose ones.
Masking task
Why it needs a specific product
JTAPE range
Defining the repair boundary and general panel edges
A premium masking tape with reliable adhesion and clean removal holds a firm, sealed edge that prevents paint creep on everyday edge masking.
Soft, compressible construction fills the gap and produces a feathered paint edge rather than a hard line, while keeping overspray out of the aperture.
A 2:1 application tape sits neatly along cant rail rubbers and door seals, lifting them slightly away from the body for consistent coverage, then removing them without residue.
Door and window seals, windscreens, and bodyside mouldings
Perforated tape tucks behind trims and eases them away from the panel so paint reaches tricky areas, and its perforated edge tears neatly to follow complex shapes.
Most masking problems come down to a handful of avoidable errors. Watch for these and you will save yourself the bulk of the rework:
Using general-purpose masking tape. Household tape leaves residue, peels and bleeds. It is the most common and most costly mistake.
Leaving tape on too long. As a rule, do not leave masking tape on for more than 24 hours, and be especially careful about leaving a taped car in the sun, which bakes the adhesive on and makes clean removal much harder.
Stretching tape around curves. Pulling tape tight to force it around a curve means it shrinks back as it relaxes, lifting the edge and pulling the line out of shape. Let fine line tape do the work instead.
Masking a dirty or waxed surface. Tape will not hold on contamination, and the bond fails exactly where you need it most.
Not burnishing the edges. An unsealed edge is an open invitation for paint to creep underneath. Always press the edge down.
Removing tape too early or too late. Both cause problems, early can lead to paint bleed, whereas removing too late can result in cracking or peeling.
Will masking tape damage car paint?
Automotive masking tape is safe for car paint when it is applied to a clean surface and removed within the recommended window. Household and general-purpose tape is not, and this is the distinction that matters.
The adhesive on automotive tape is formulated to hold securely throughout the painting process and then release cleanly, without the residue or paint lifting you risk with the wrong product.
Two things keep tape safe on paintwork. The first is a clean, properly prepared surface, as covered in step one. The second is time, since even the right tape can bond too firmly and leave residue if it is left on for days or exposed to prolonged heat, so keep to the 24-hour guideline and remove it while the paint is tack-free.
JTAPE’s automotive adhesives are formulated specifically for automotive finishes, delivering precise paint lines during the job and clean, effortless removal afterwards.
Frequently asked questions
What tape is used for masking cars?
Automotive masking tape is built for masking cars, not household tape. Different areas of the vehicle demand different solutions: premium masking tape for panel edges, fine line tape for intricate areas, foam tape for door jambs and apertures, trim lifting tapes for masking rubbers and gaskets, plus blending tapes for SPOT repairs and swage lines where a seamless finish is vital.
A typical repair combines several JTAPE products, each designed for automotive paint systems and the temperatures involved in refinishing. Each is formulated for automotive paint and the temperatures involved in refinishing.
Will masking tape peel car paint?
Automotive masking tape will not peel cured car paint when it is applied to a clean surface and removed within the recommended window. Peeling usually happens with household tape, tape left on far too long, or tape removed after the paint has fully hardened. Stick to automotive tape, the 24-hour guideline and a 45-degree peel and you avoid it.
How long can masking tape stay on a car?
As a general rule, do not leave masking tape on a car for more than 24 hours. The longer it stays, particularly in heat or direct sun, the more the adhesive bonds and degrades, which increases the risk of residue and marking. Mask, paint and de-mask within the working session wherever you can.
Can you use any masking tape on a car?
No. General-purpose and household masking tapes are not suitable for masking cars. They can leave residue, bleed at the edge and lift paint, and they are not built for the temperatures involved in the painting and bake process. Always use an automotive-grade masking tape on paintwork.
How do you tape off a car for painting?
Clean and degrease the surface, then tape along the edge of every panel next to the area being painted, working a section at a time and burnishing each edge down. Use foam tape for door jambs and apertures and fine line tape for curves and intricate areas requiring increased accuracy, cover large areas with masking film sealed by a second tape layer, check everything, then de-mask at a 45-degree angle once the paint is tack-free.
How do you mask car wheels for painting?
If you are not painting the wheels, the simplest approach is to cover each one with masking film and seal the edge with tape, or remove the wheels entirely for full access. Wheel repair masking is the quickest and most efficient way of masking a tyre when painting alloy wheels and rims.
This takes a fraction of the time, compared to the traditional, manual method of tucking tape behind the edge of the rim and having to mask all the way around it by hand, this also uses less tape.
Get the right masking products for the job
We have packed this guide with the process and the product choices that give you a clean, professional finish, whether you are new to refinishing or simply after the best way to get the job done.
Matching the correct tape or film to each task is what makes masking quicker, cleaner and safer for the paintwork.